OpenClaw Personal Assistant
Complete guide to provisioning your VPS on SumoPod and creating a Telegram bot for integration.
SumoPod
Cloud platform for deploying apps and provisioning VPS instances. Used to host your OpenClaw Personal Assistant.
BotFather
Telegram's official bot for creating and managing bot accounts. Used to create your bot and generate the API token.
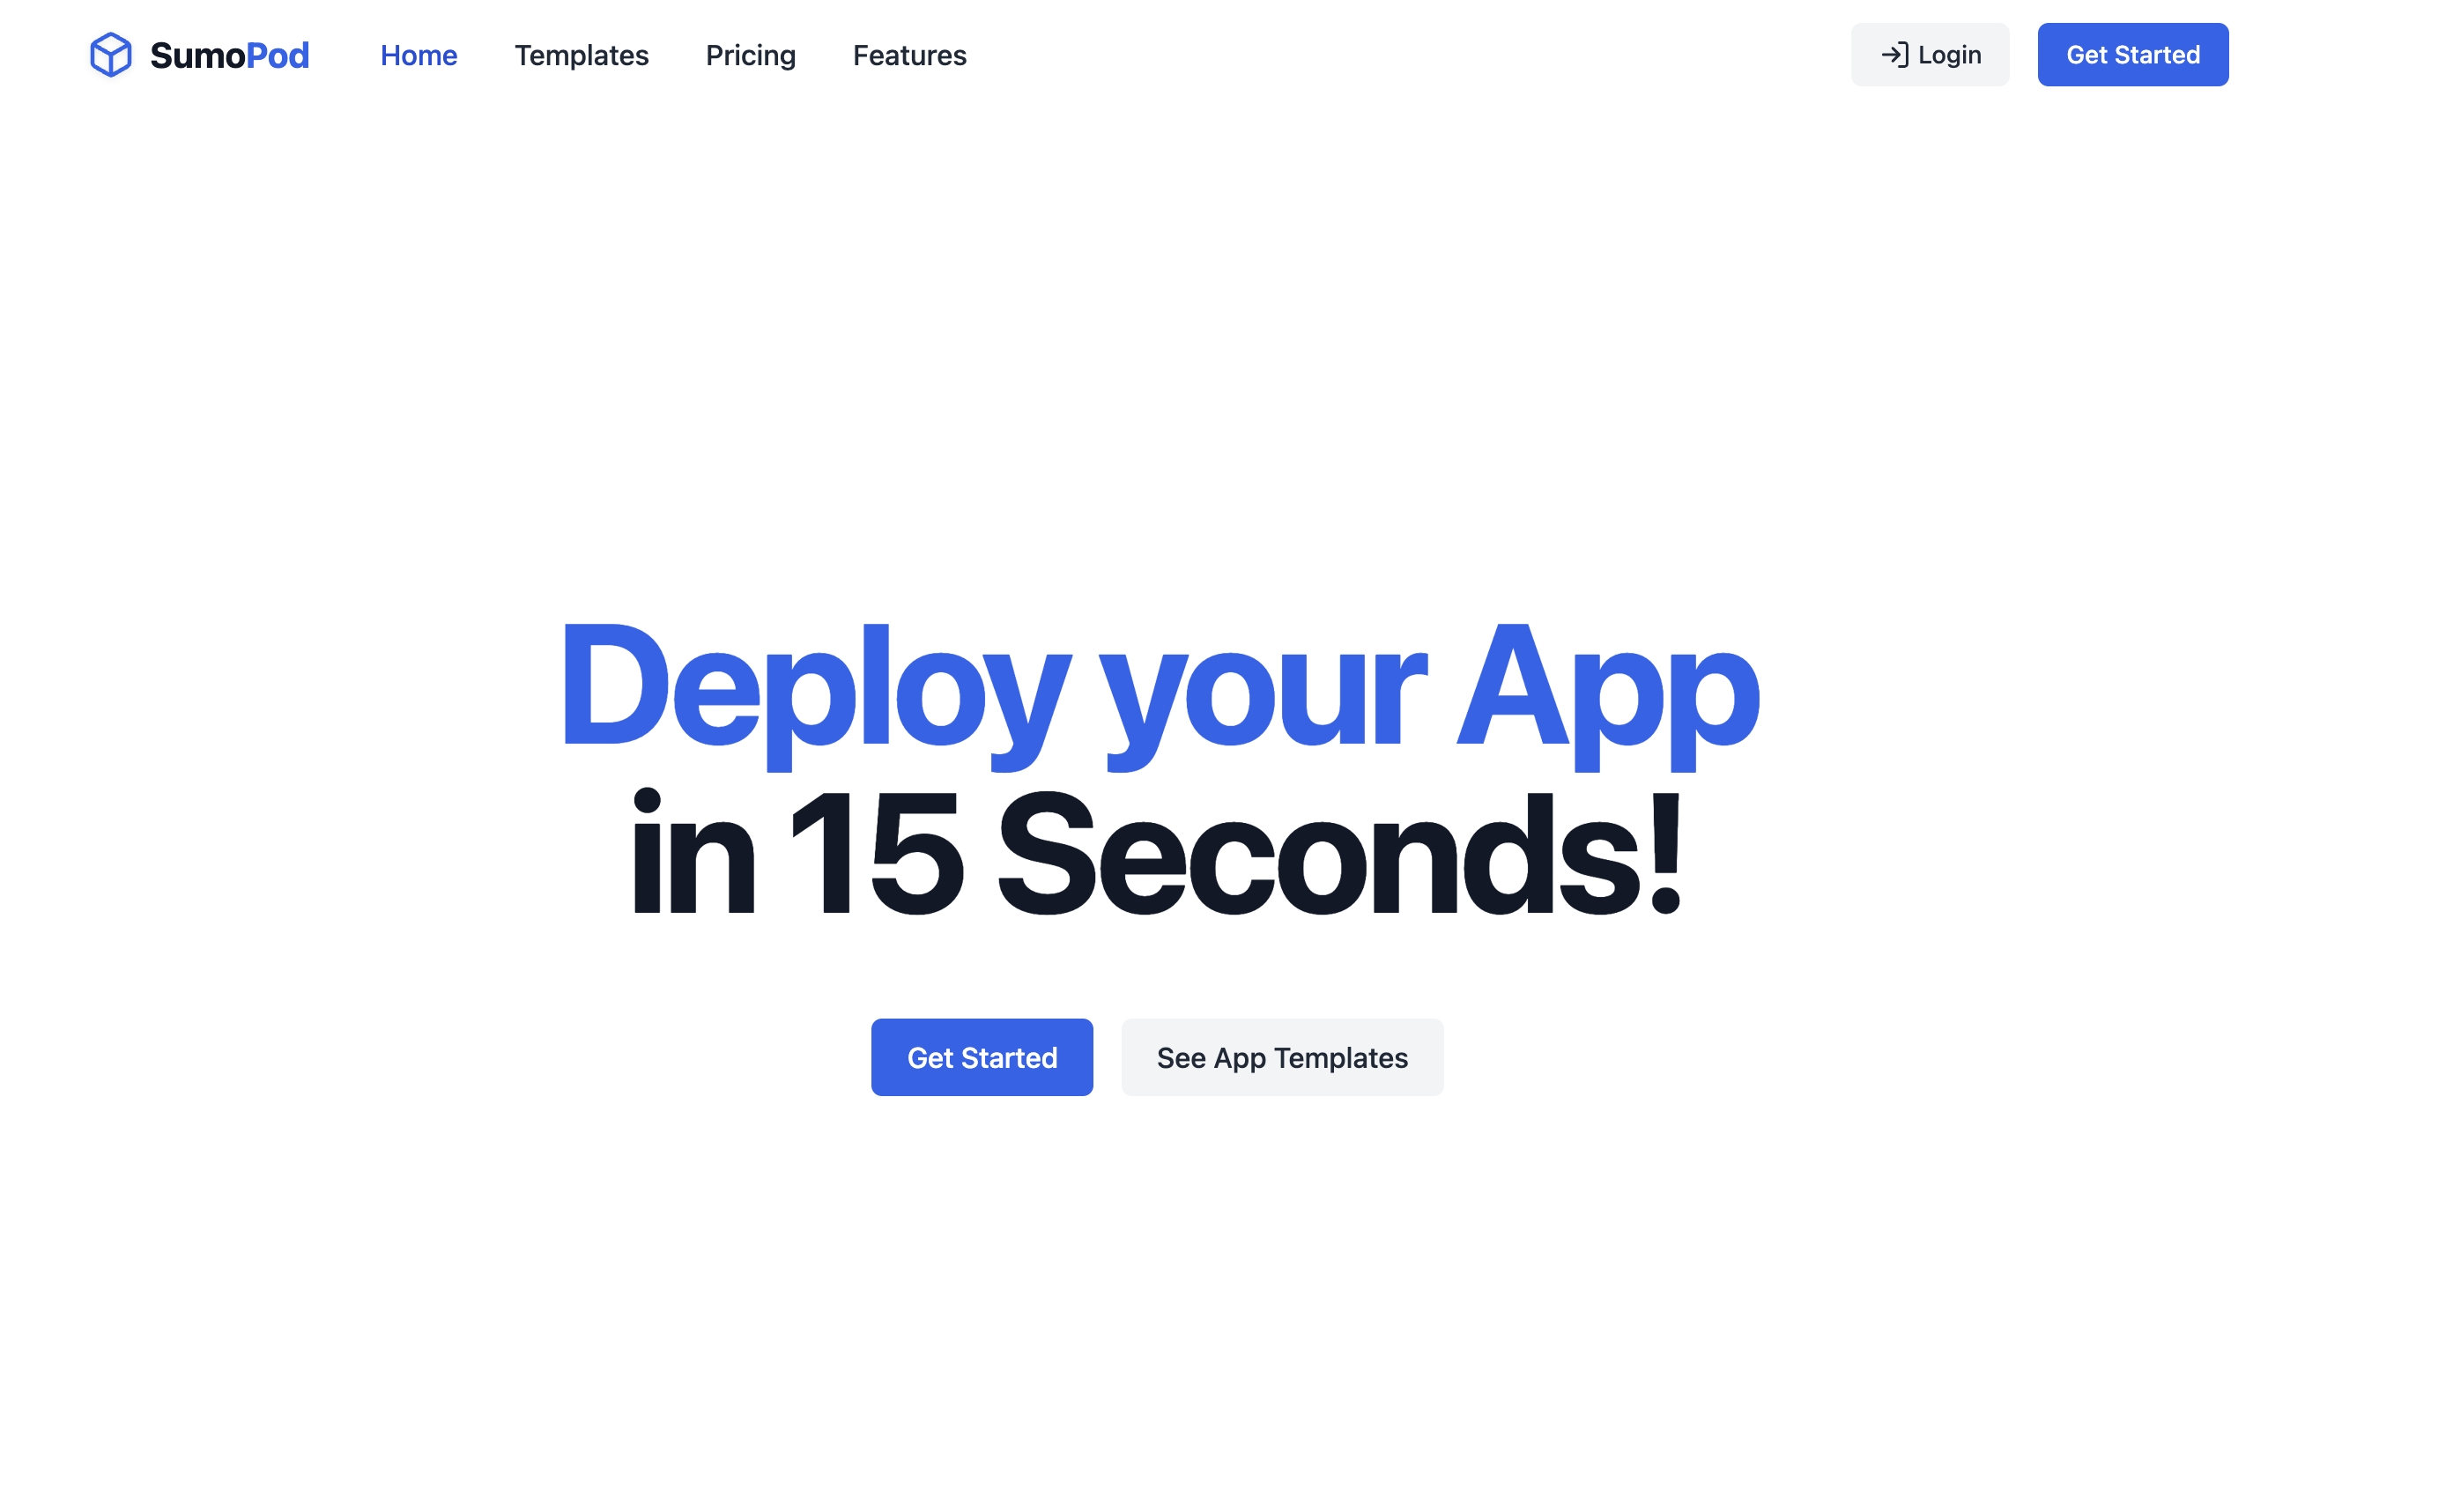
Go to SumoPod
Open your browser and navigate to the SumoPod website. Click Get Started to begin the registration process.
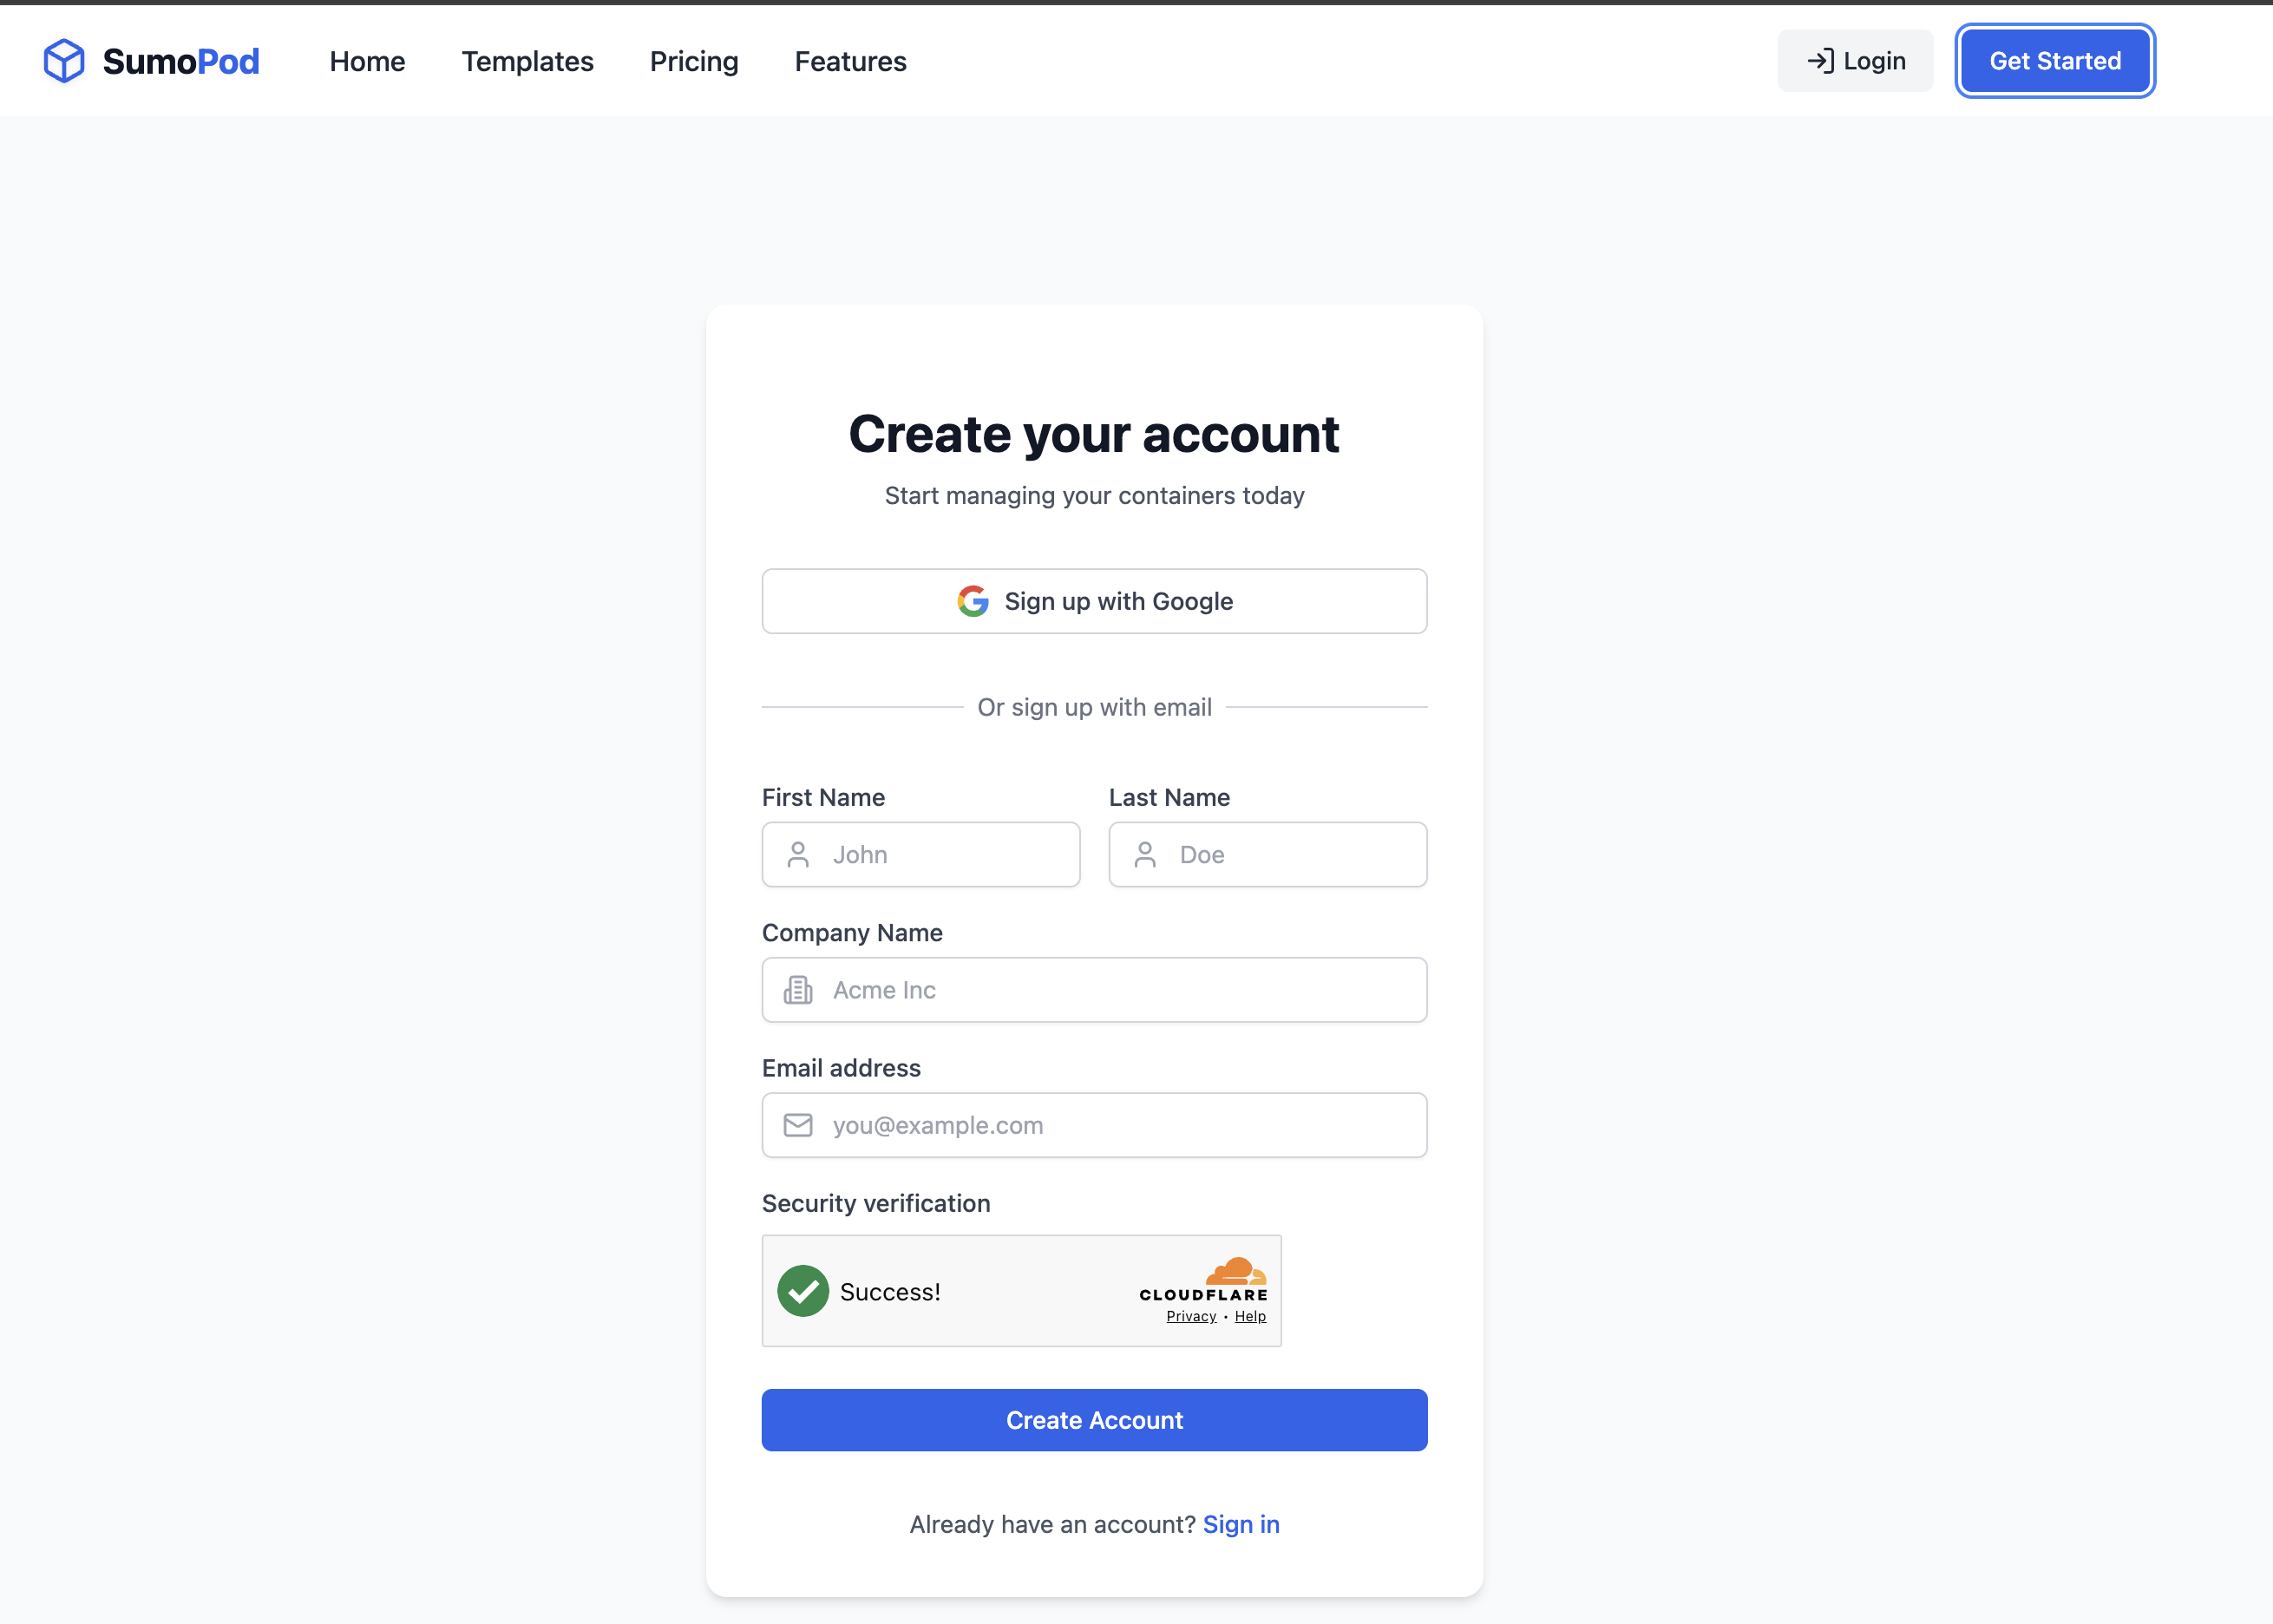
Create Your Account
We recommend using Sign up with Google for the fastest and easiest registration. Alternatively, you can fill in the form manually with your First Name, Last Name, Company Name, and Email address. Complete the Cloudflare verification and click Create Account.
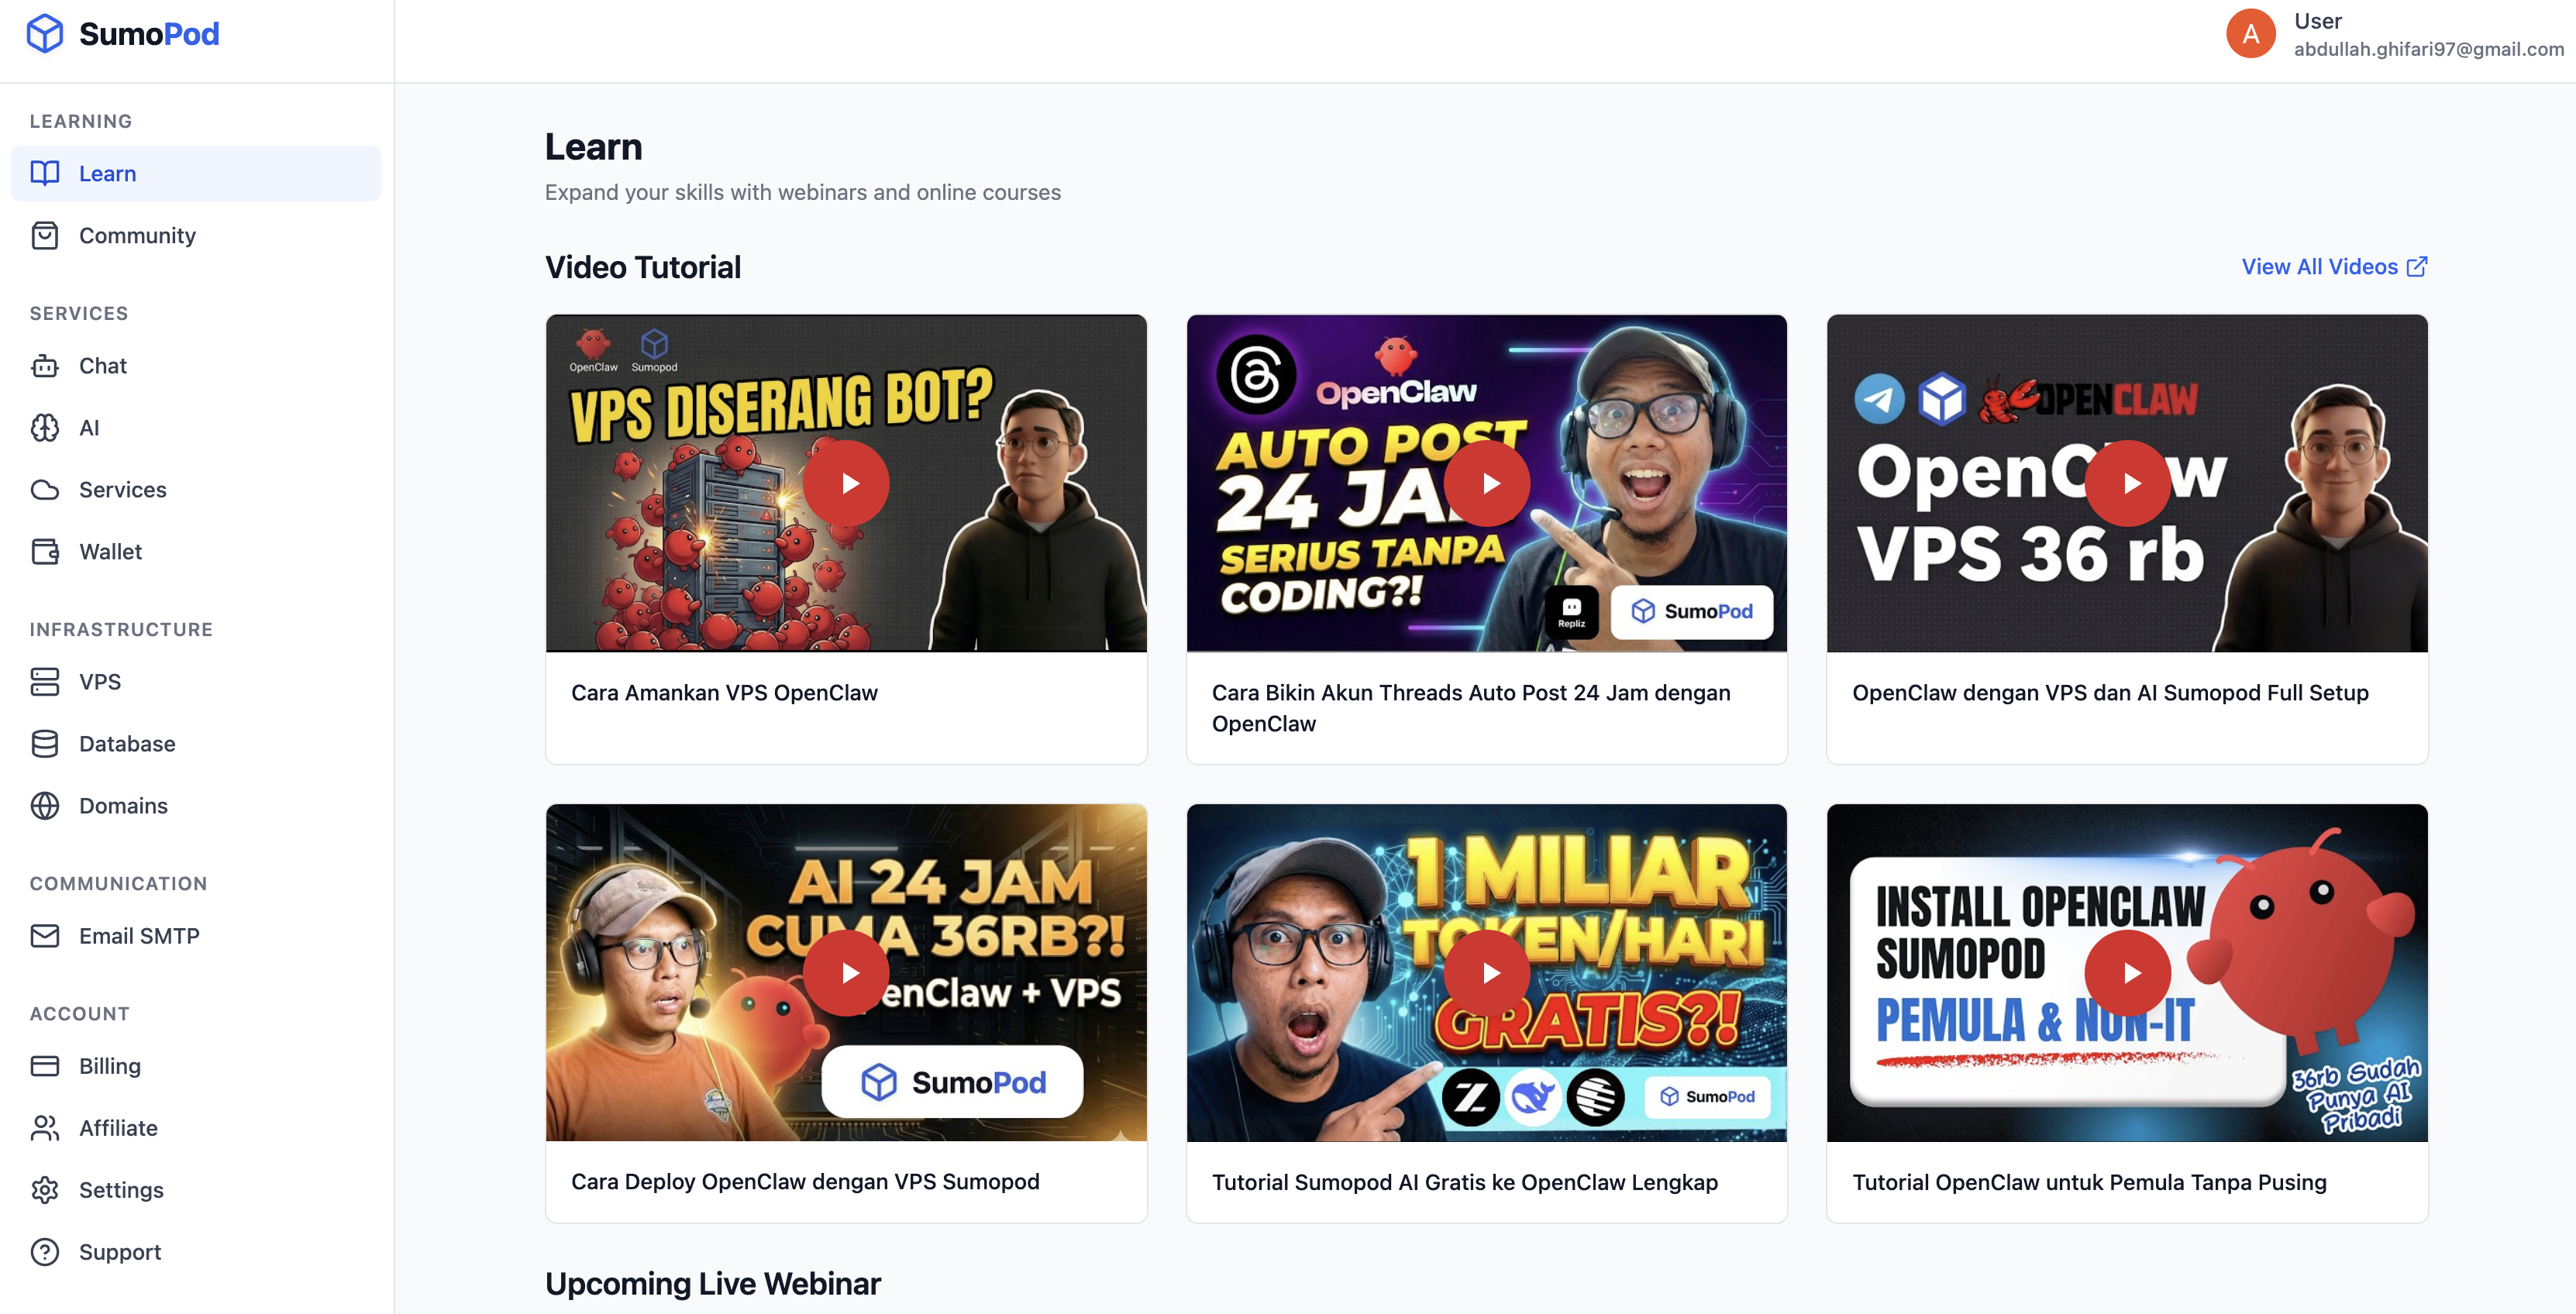
Explore the Dashboard
After logging in, you'll land on the SumoPod dashboard. The Learn section contains video tutorials about OpenClaw and VPS setup that you can reference anytime.
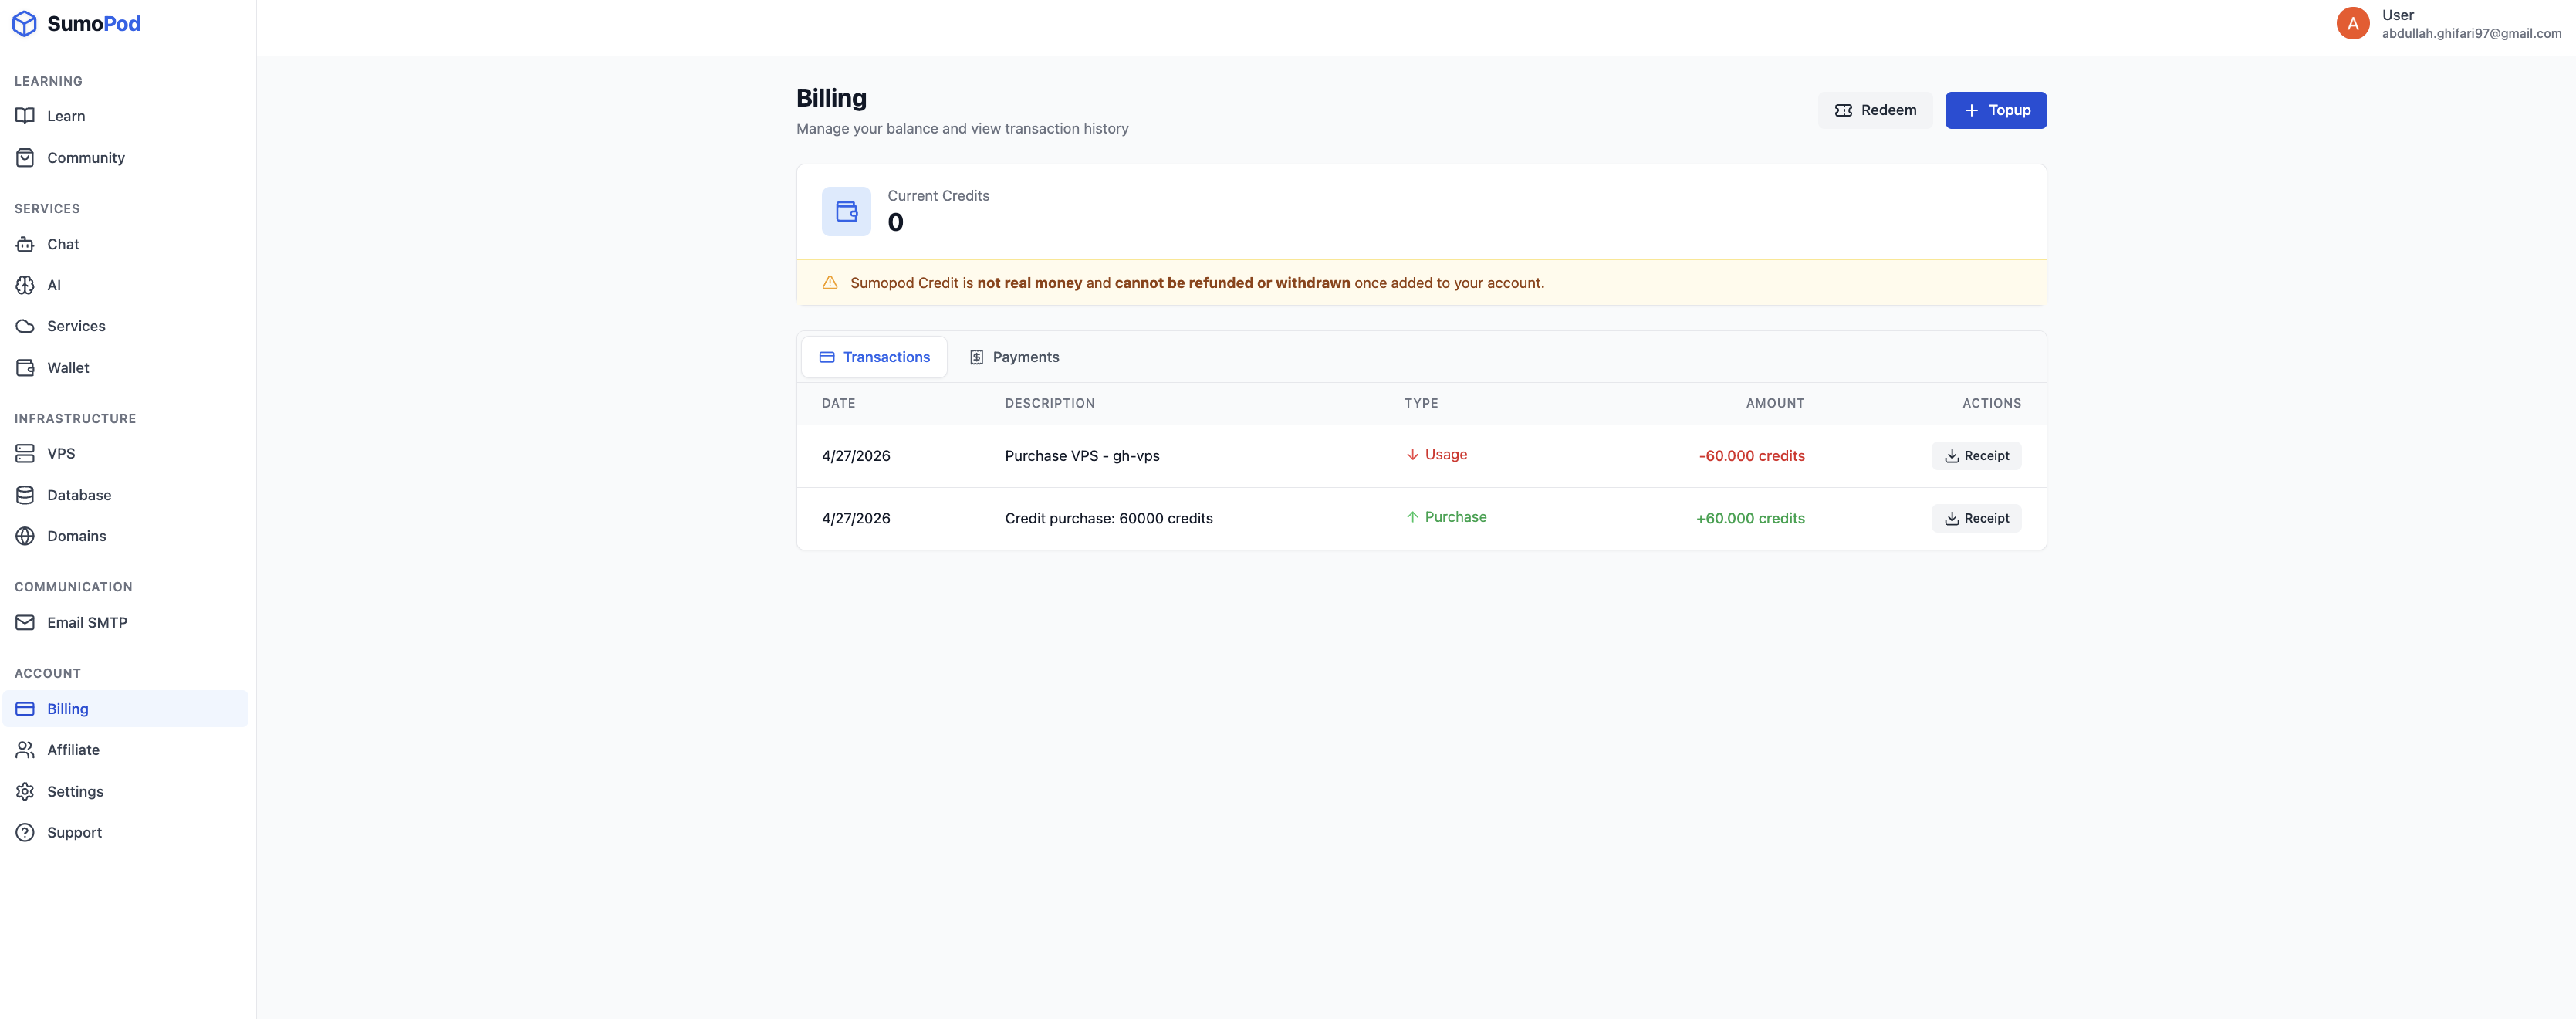
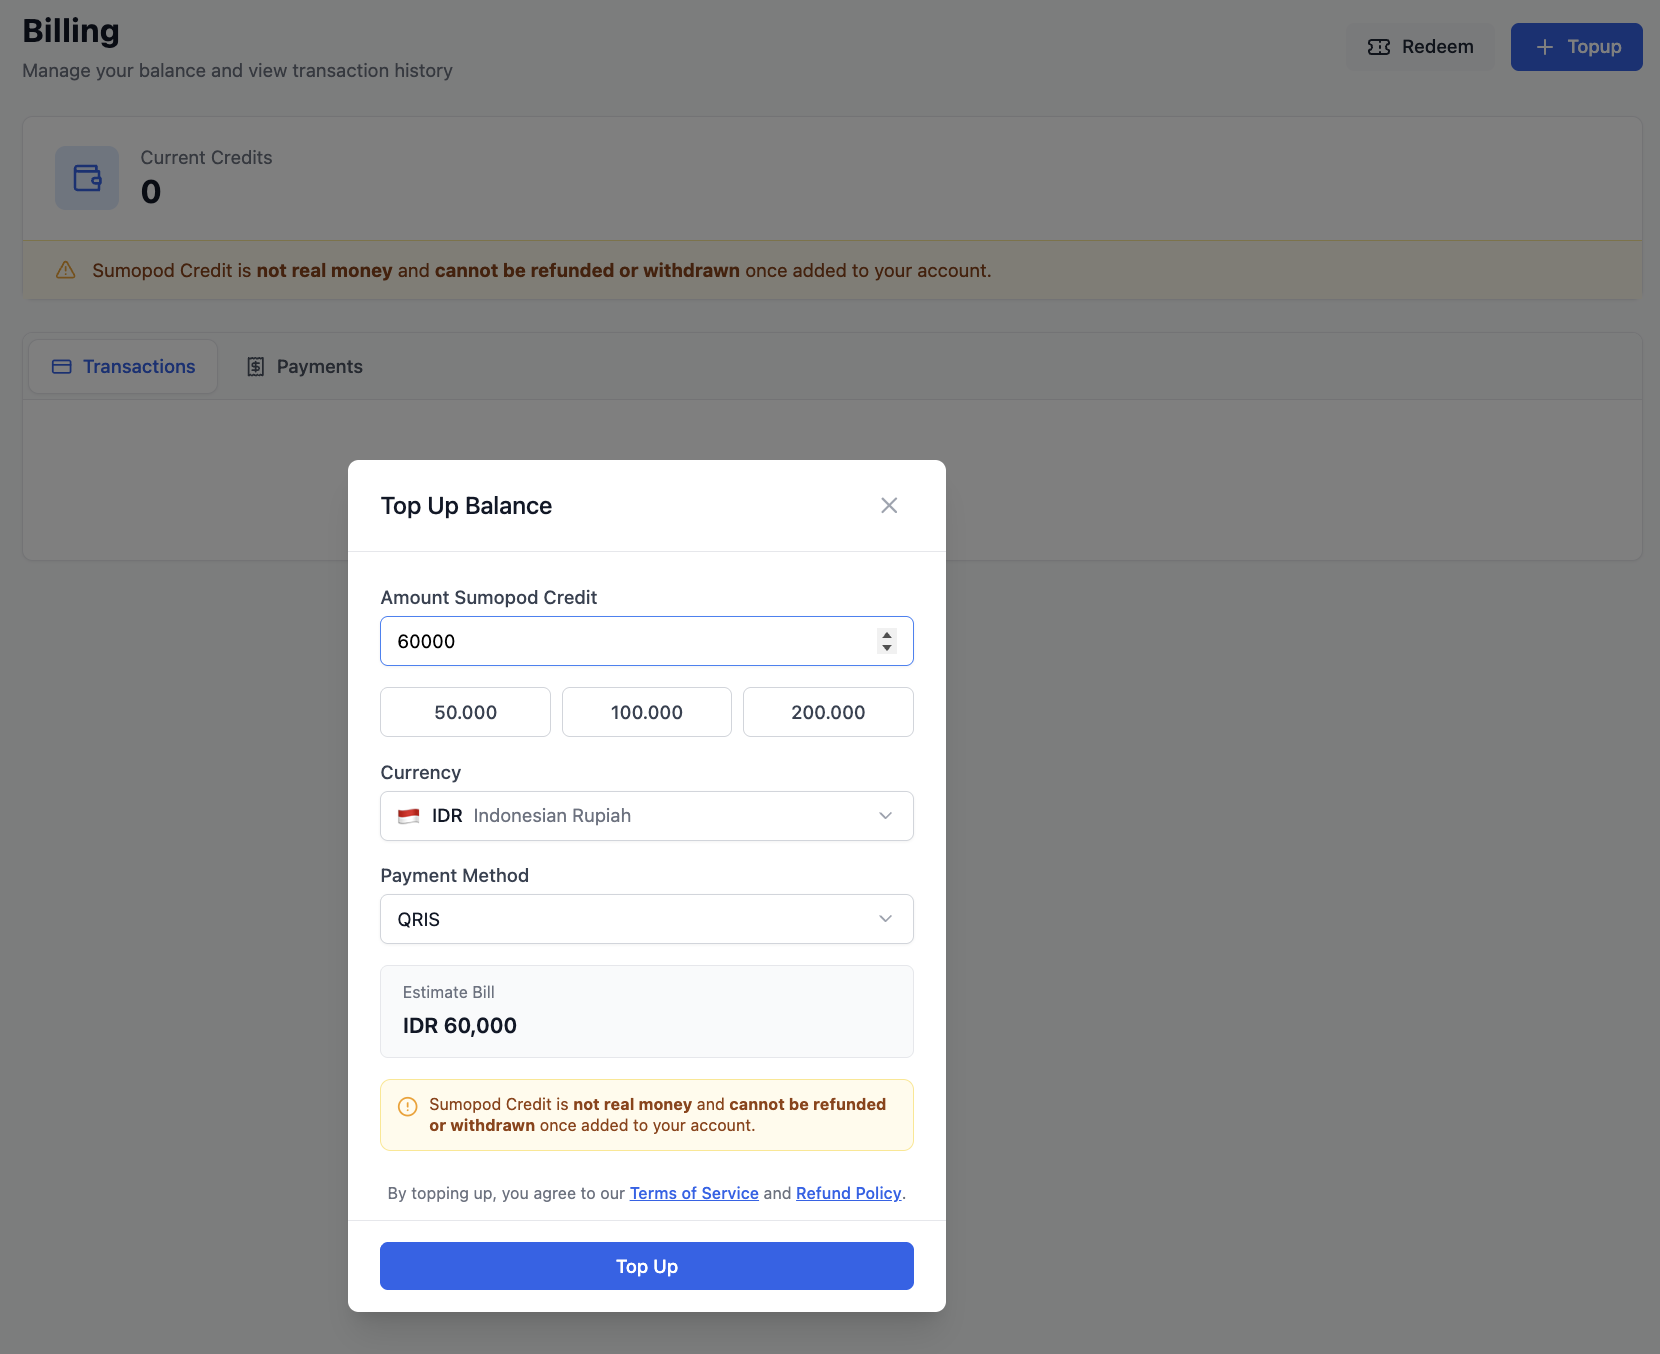
Top Up Credits
Navigate to Billing in the left sidebar. Click the + Topup button. Enter the amount (e.g., 60000), select your currency (IDR), choose a payment method (QRIS), and click Top Up.
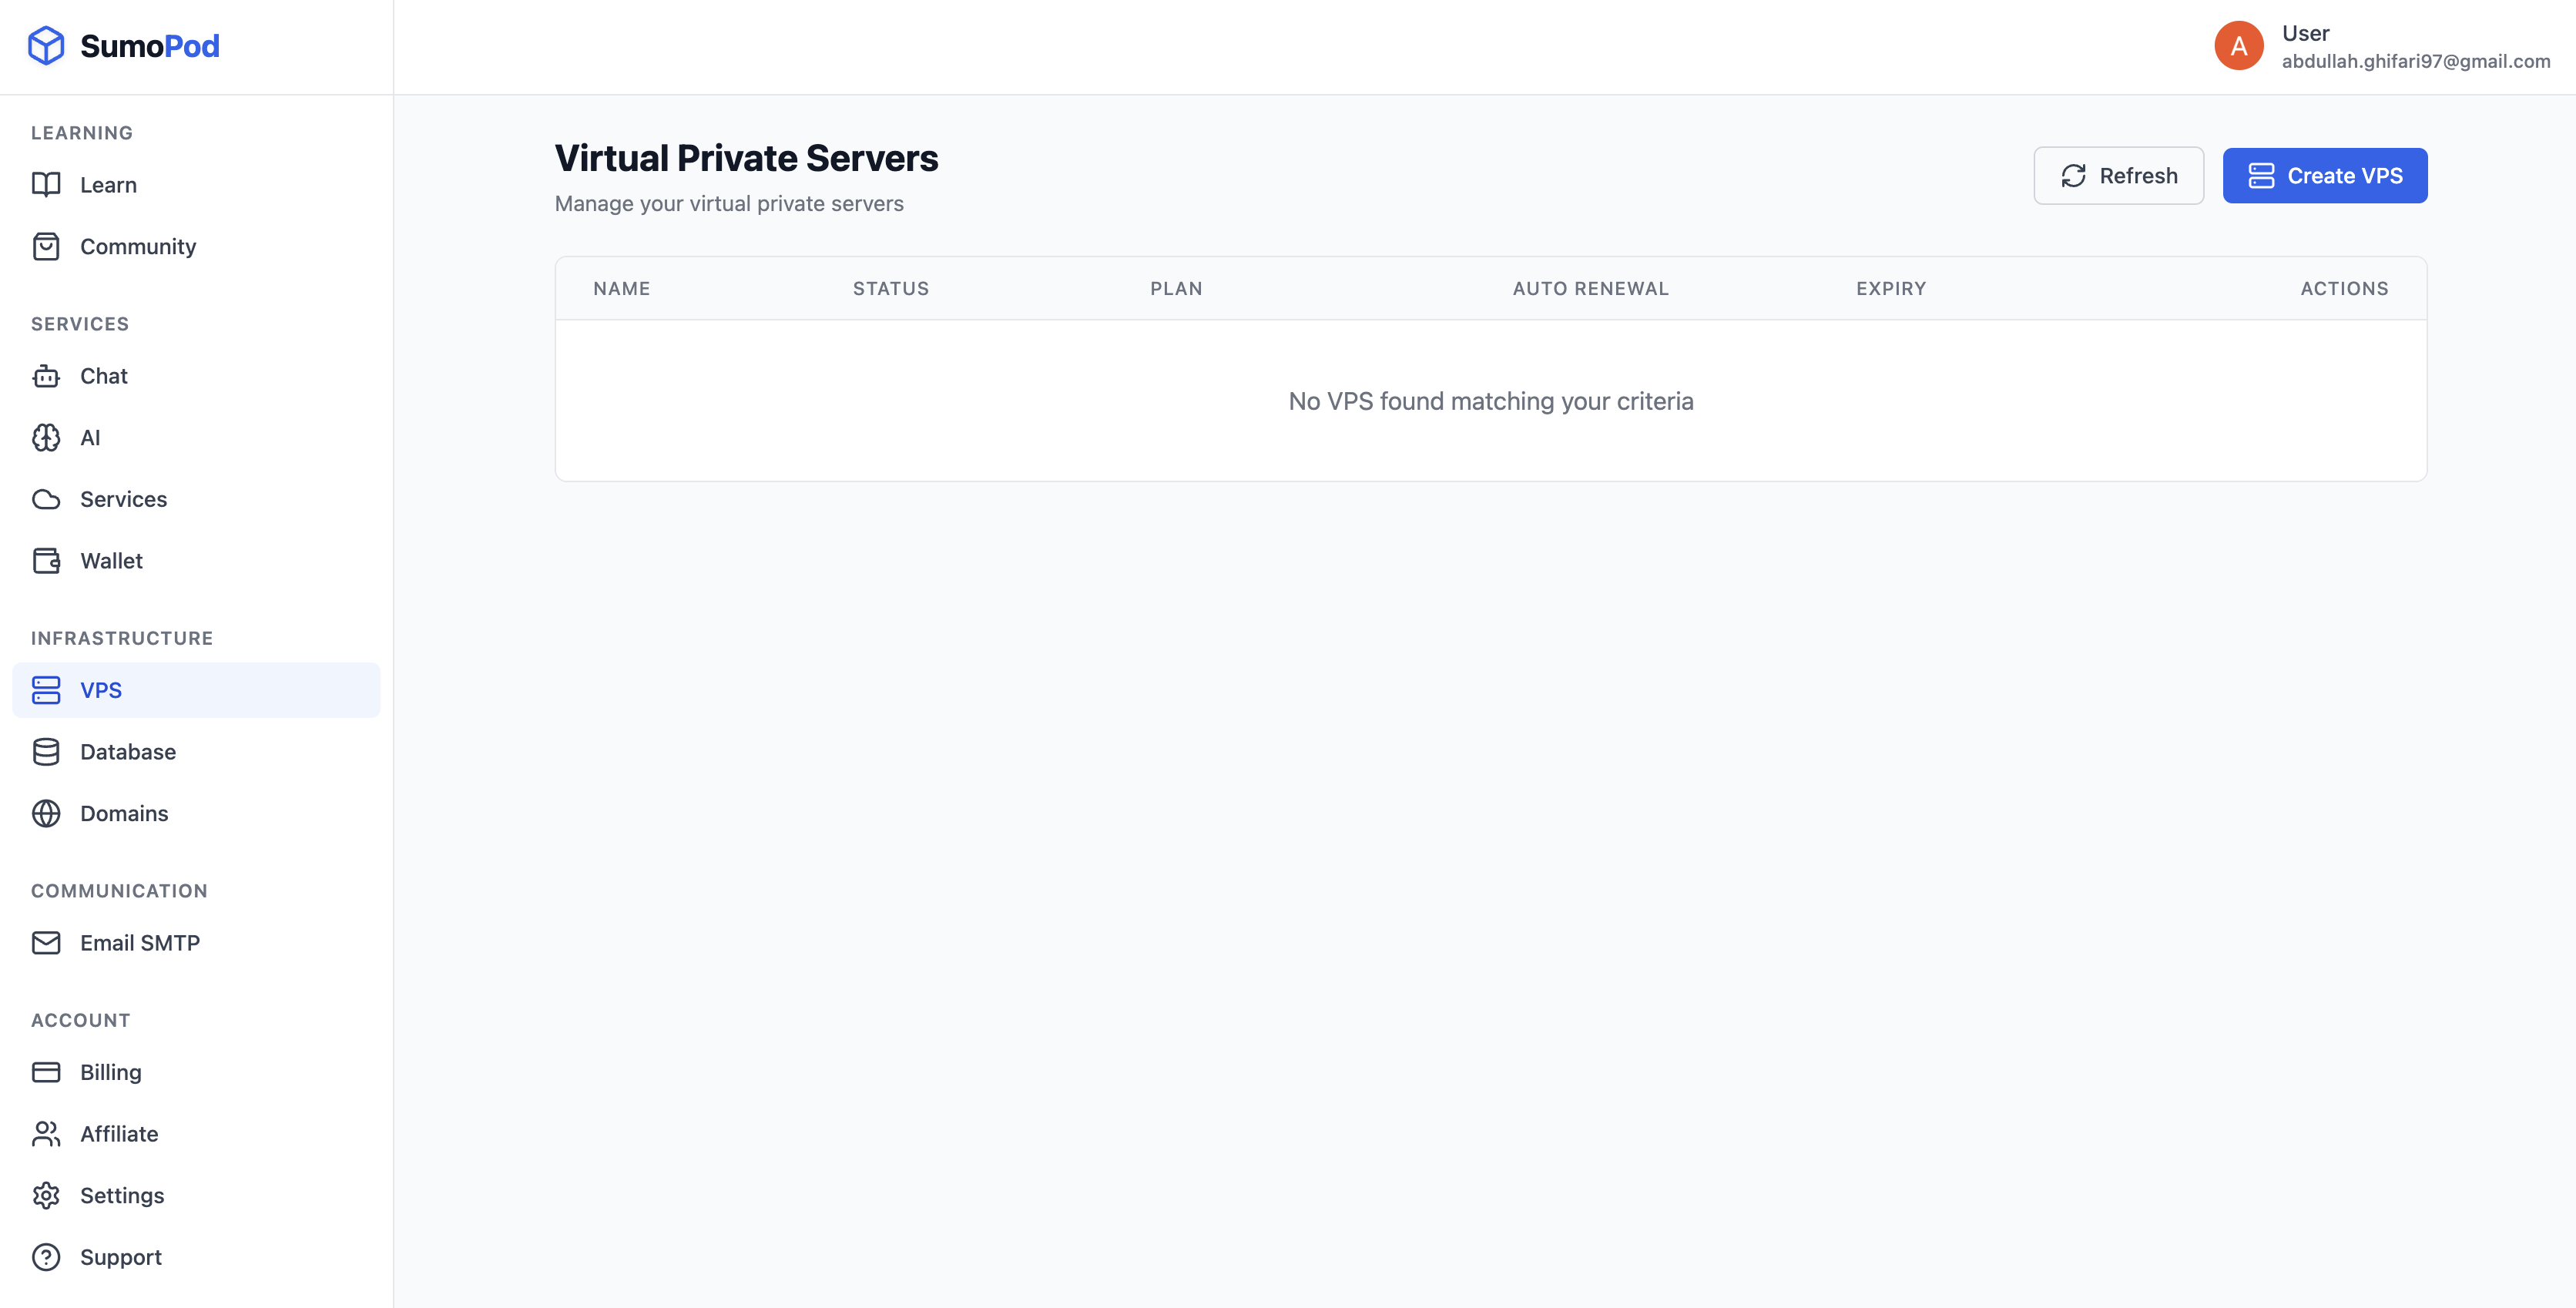
Navigate to VPS
Go to Infrastructure → VPS in the left sidebar. You'll see the Virtual Private Servers page. Click Create VPS to start provisioning.
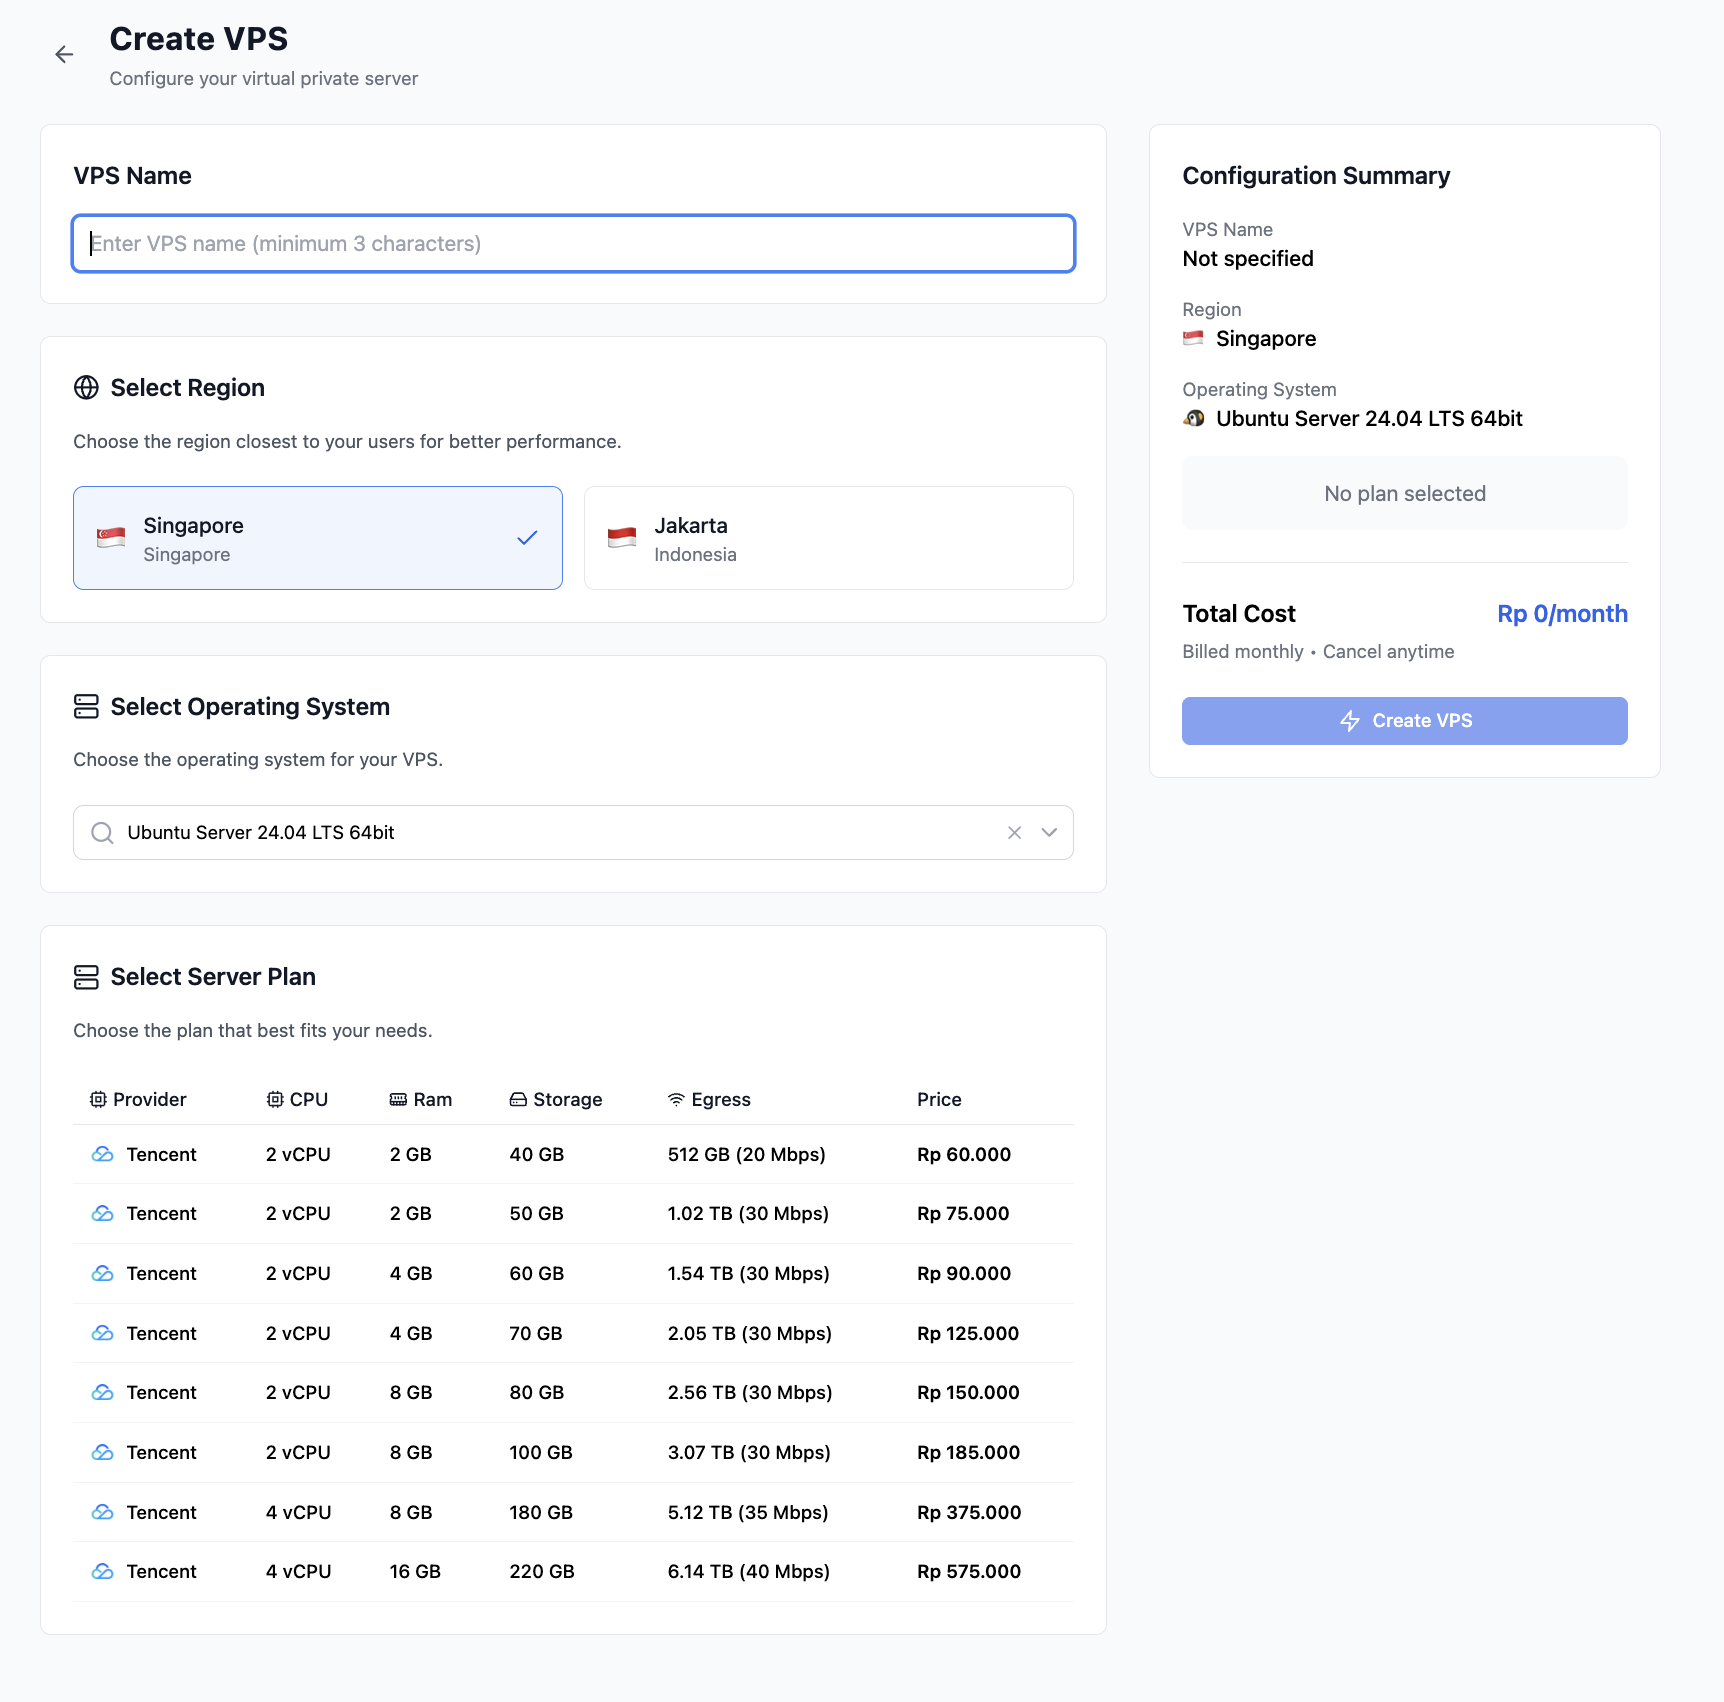
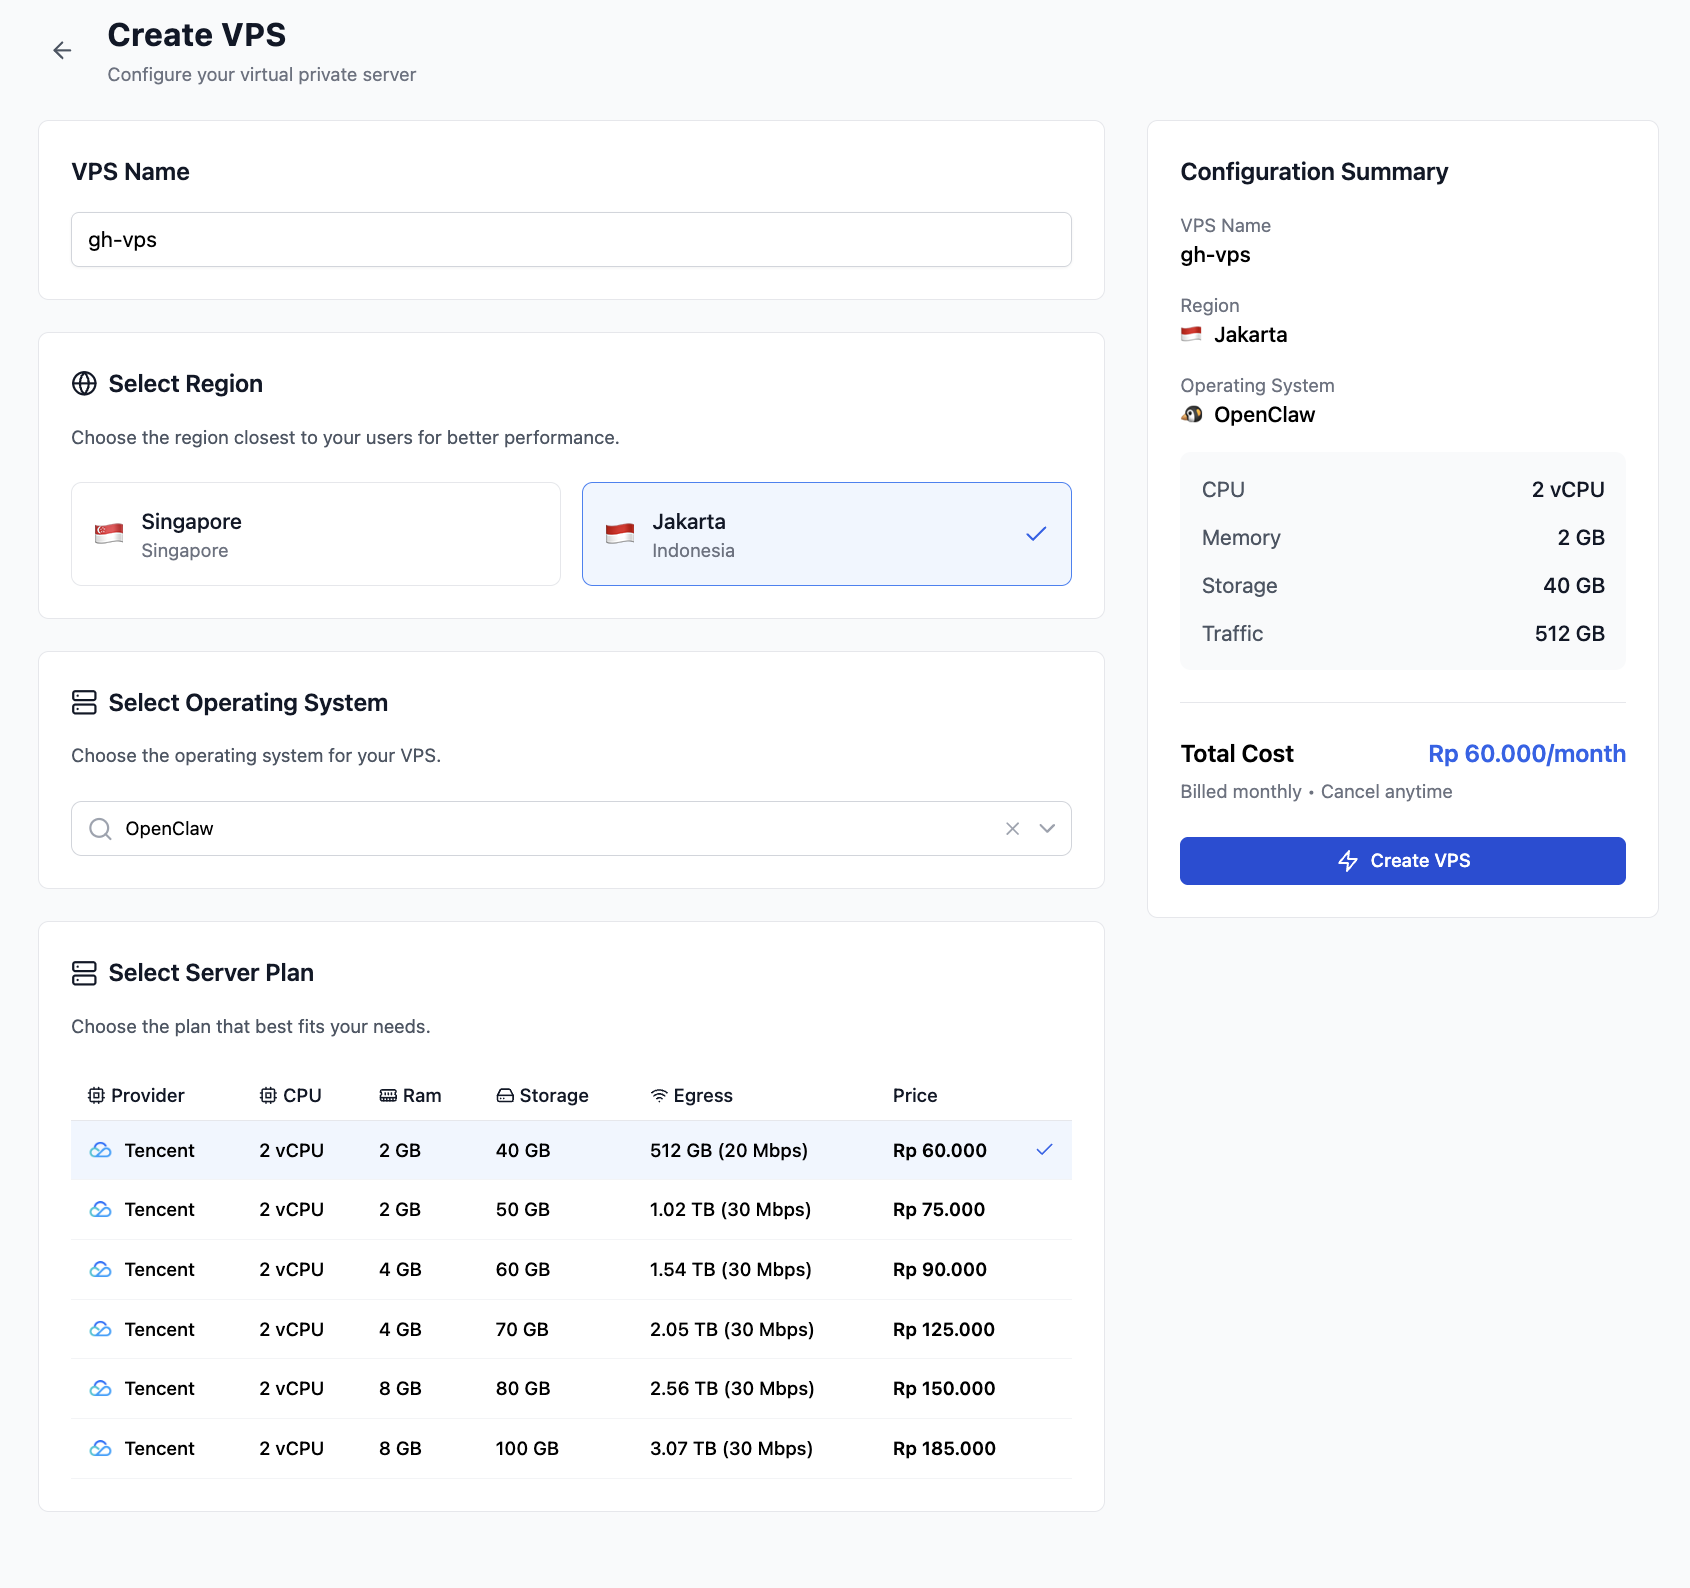
Configure Your VPS
On the Create VPS page, fill in:
• VPS Name — e.g., gh-vps
• Region — Choose closest (e.g., Jakarta)
• Operating System — Select OpenClaw
• Server Plan — Tencent 2 vCPU / 2 GB / 40 GB at Rp 60,000/month
Agree to Terms & Create
A VPS Creation Agreement modal will appear with Terms of Service and Important Notice. Complete the Cloudflare verification and click I Agree, Create VPS.

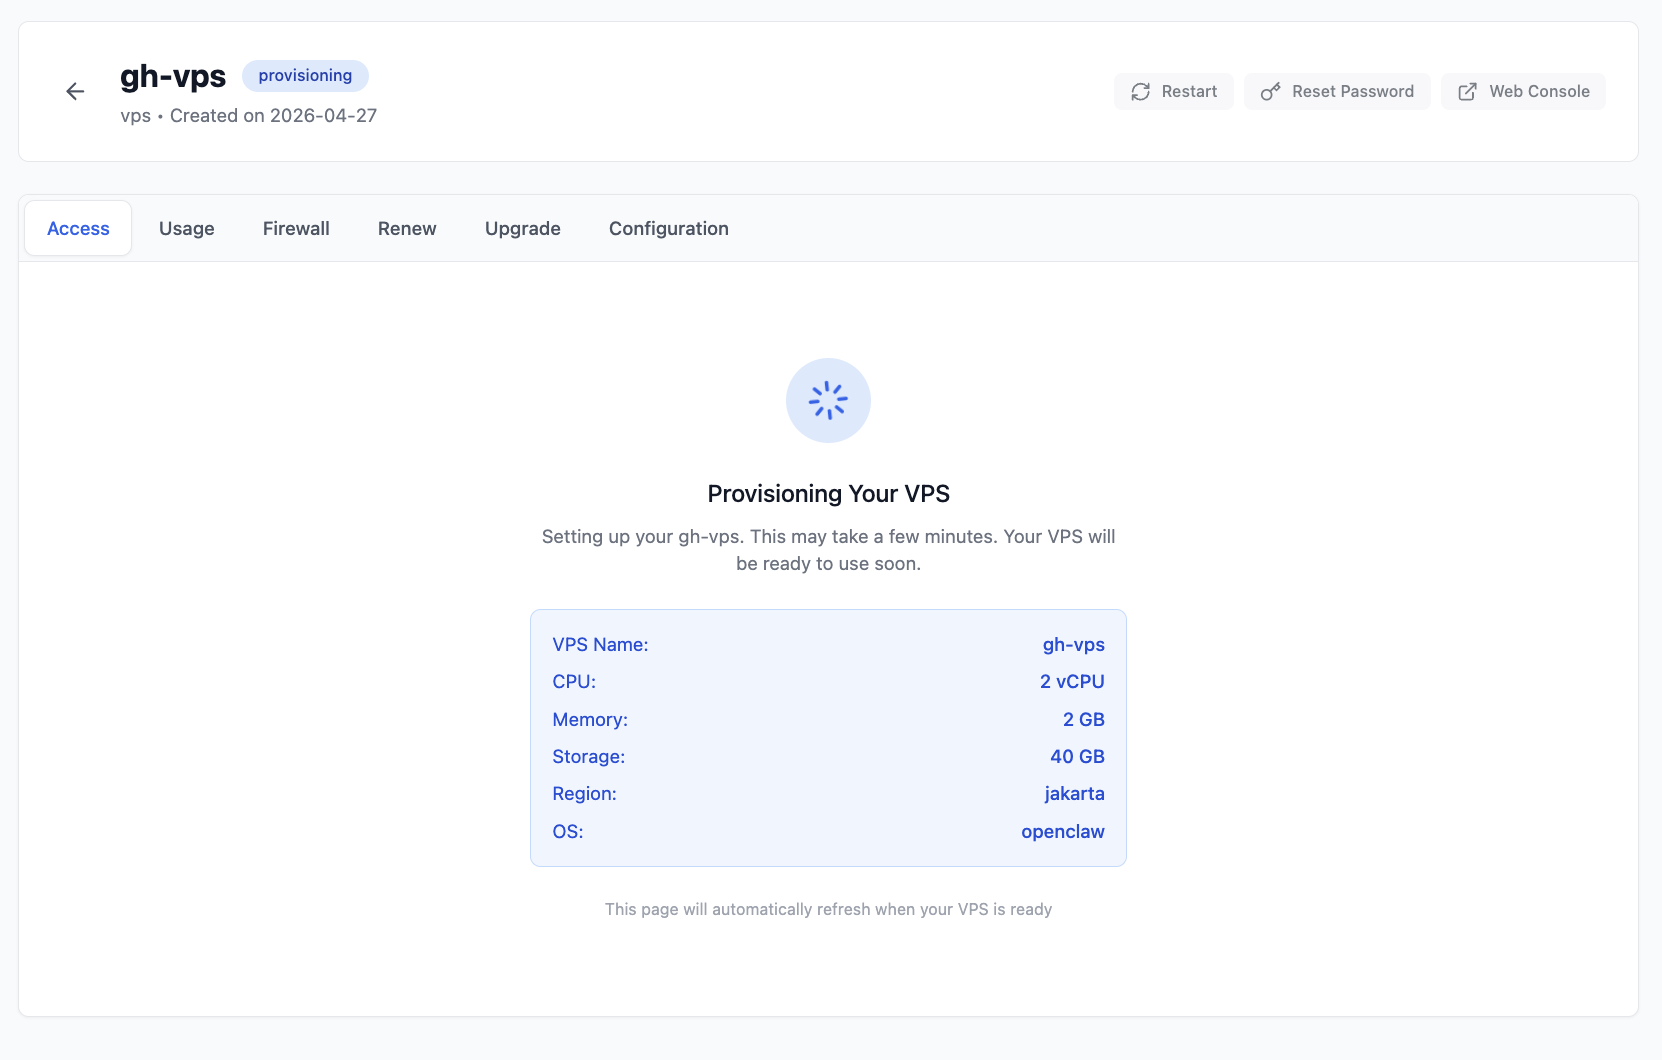
Wait for Provisioning
Your VPS will enter the provisioning state. This may take a few minutes. The page will automatically refresh when ready.
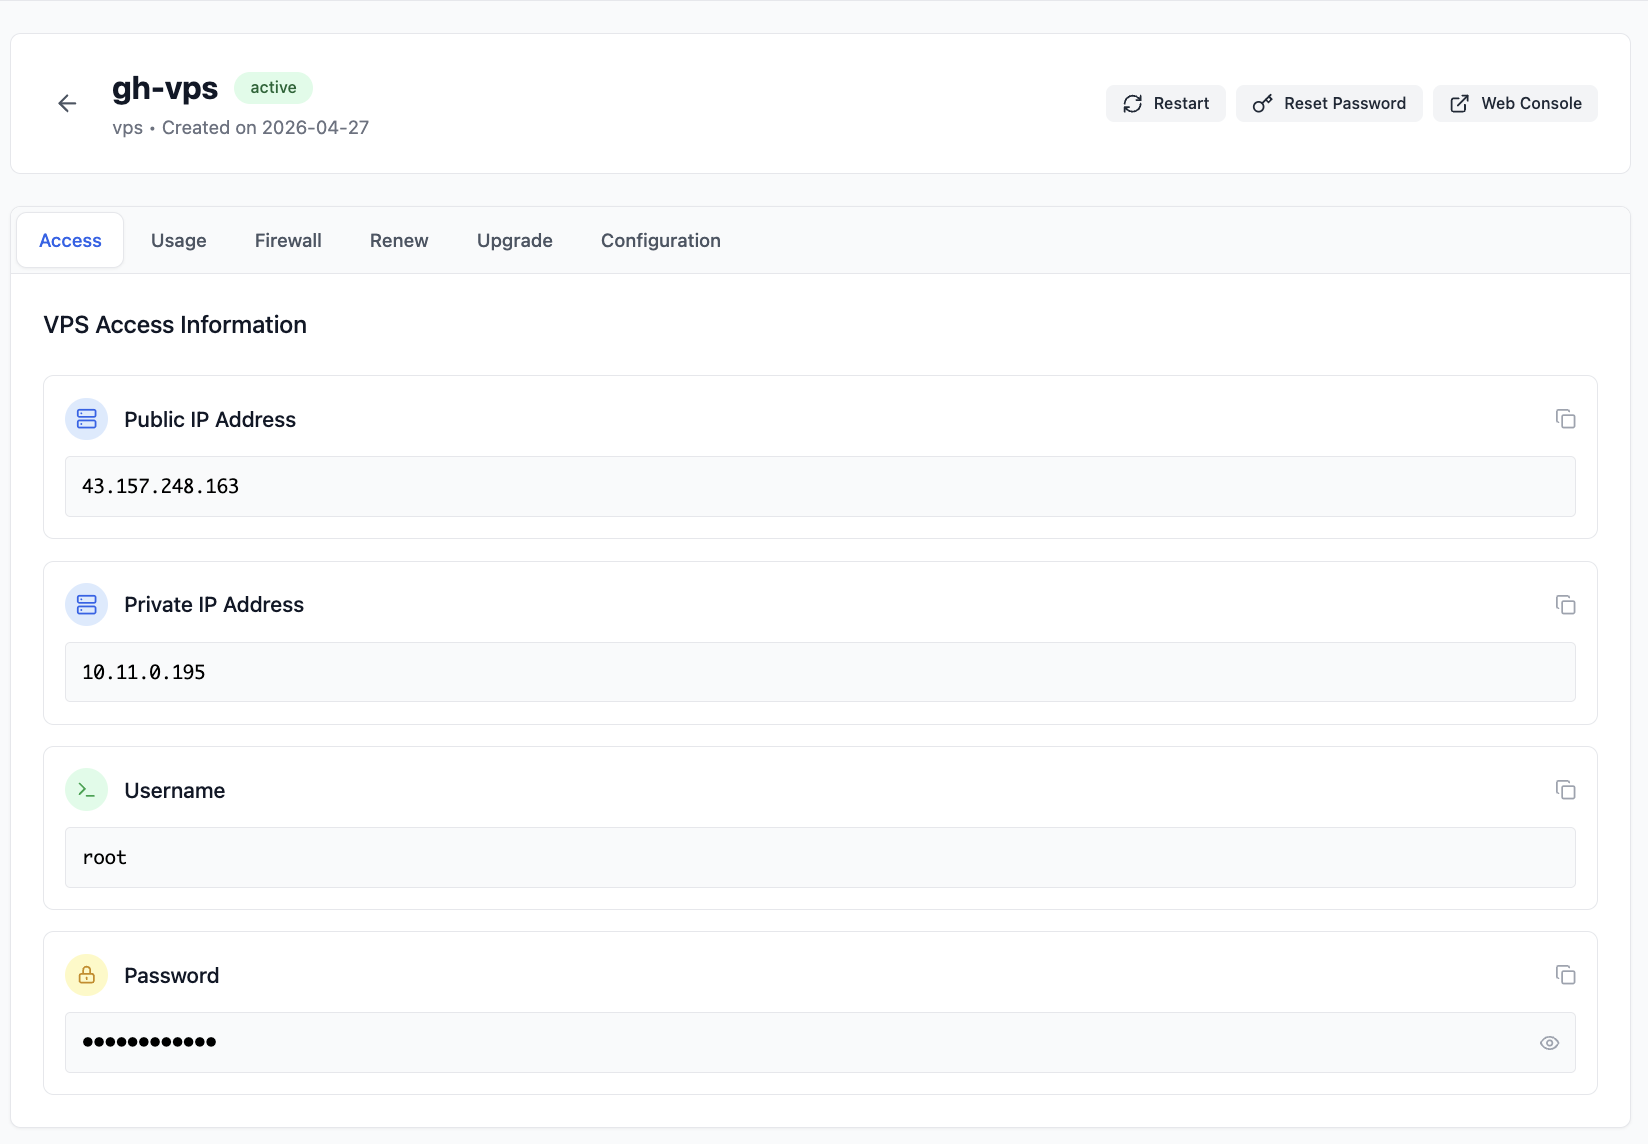
Get VPS Access Information
Once active, you'll see the VPS Access Information page with your Public IP, Private IP, Username (root), and Password.
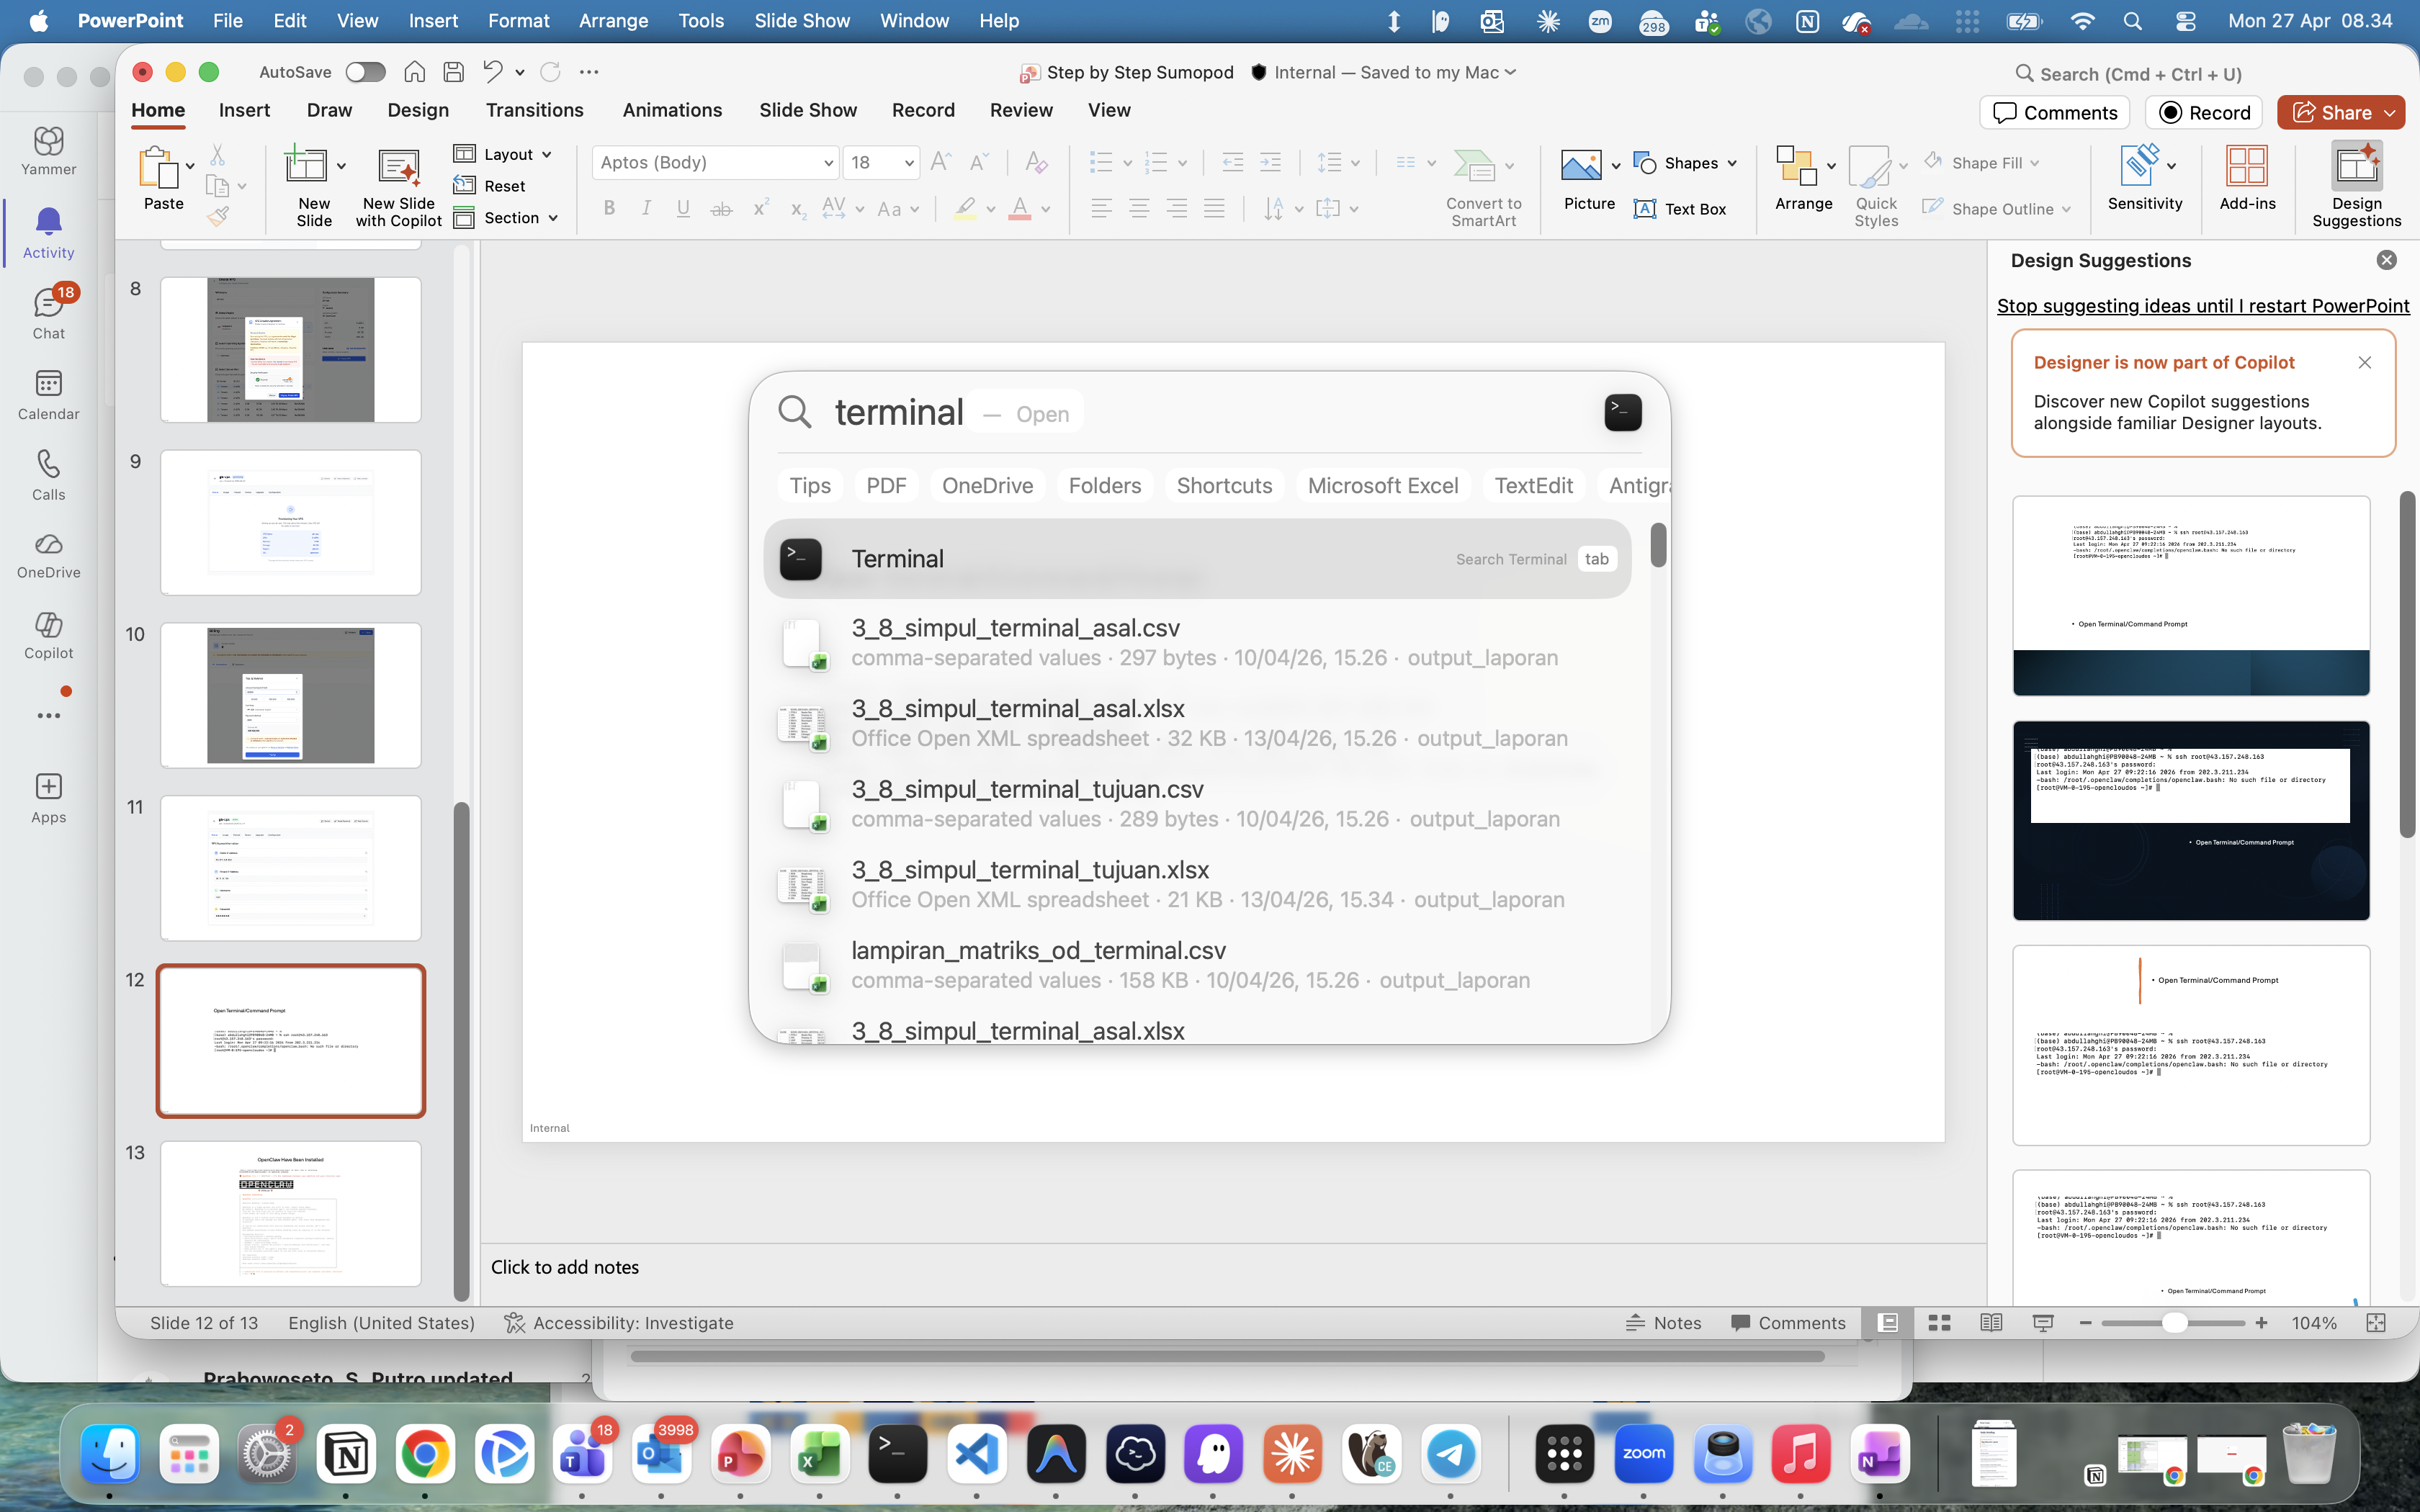
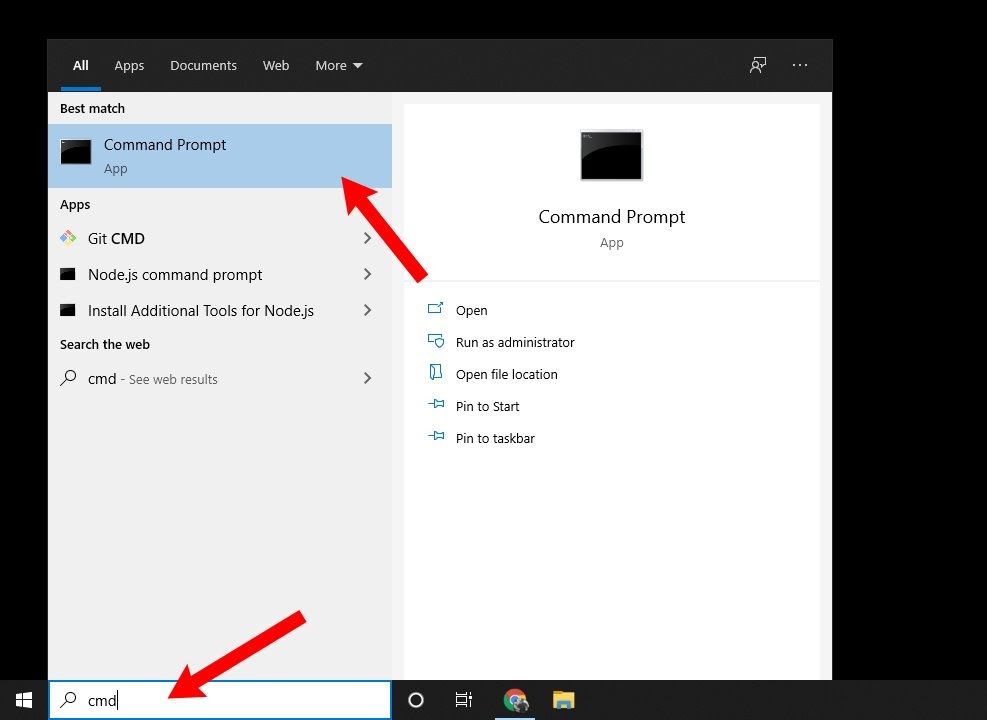
Open Terminal
Open a terminal application on your computer:
• macOS — Search for "Terminal" using Spotlight (Cmd + Space)
• Windows — Search for "cmd" or "Command Prompt" in the Start menu
SSH into Your VPS
Connect to your VPS using SSH. Enter your password when prompted.
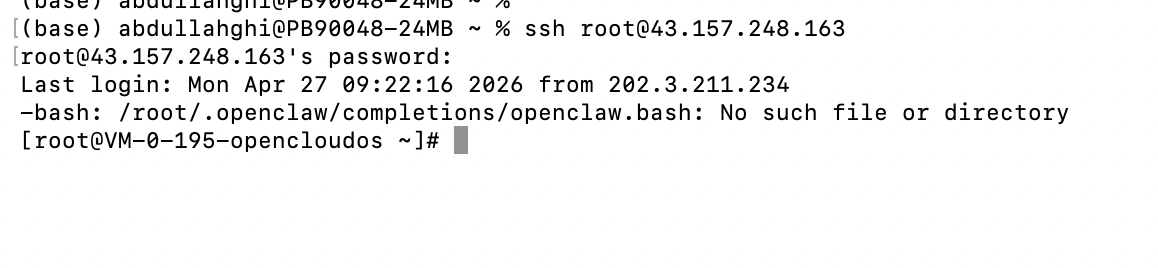
Verify Installation
Confirm OpenClaw is installed correctly by checking the version.

Open Telegram
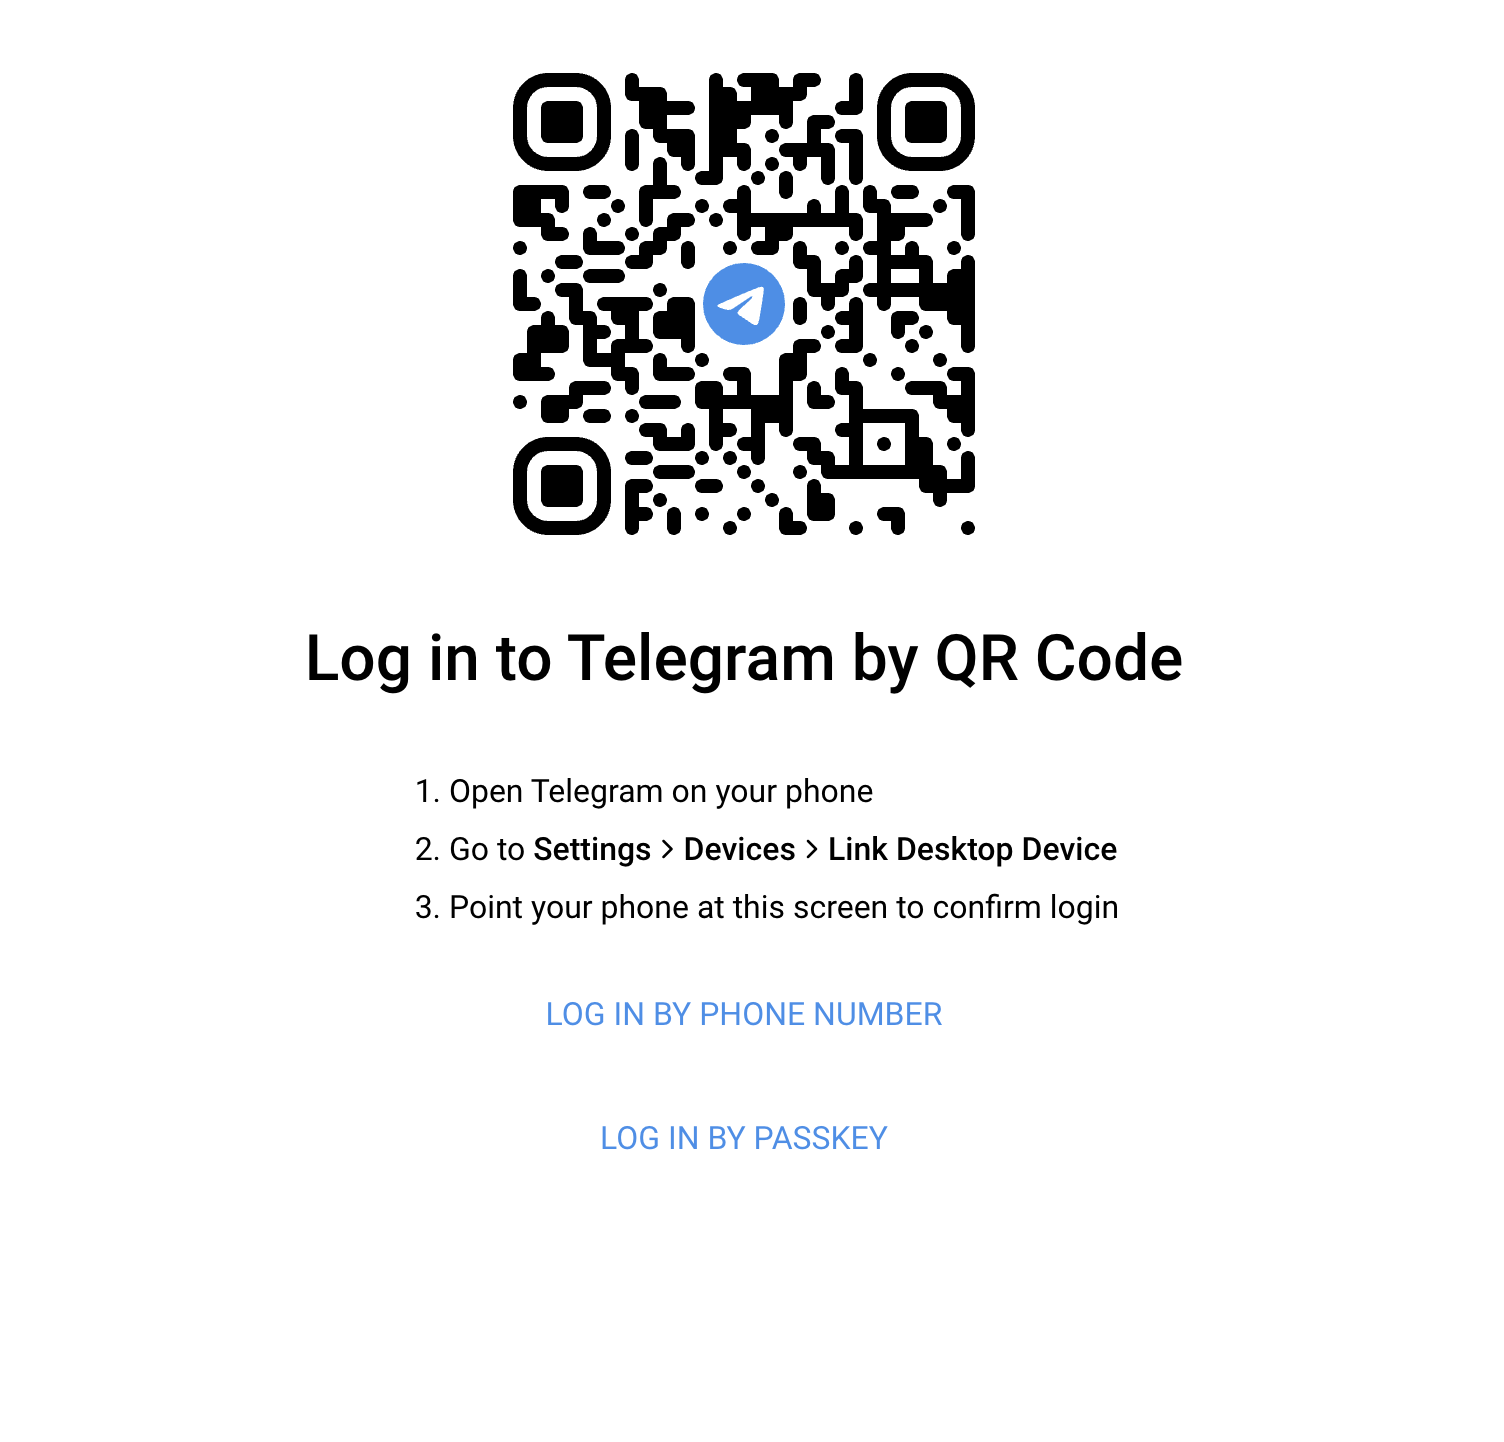
Open Telegram on your Web or Desktop app. Using a phone is not recommended for this setup.
Navigate to https://web.telegram.org/ and log in using one of the following methods:
• QR Code — Scan the QR code with your phone's Telegram app
• Phone Number — Enter your phone number and click Next
If logging in by phone number, enter the OTP code sent to your Telegram app to complete the login.


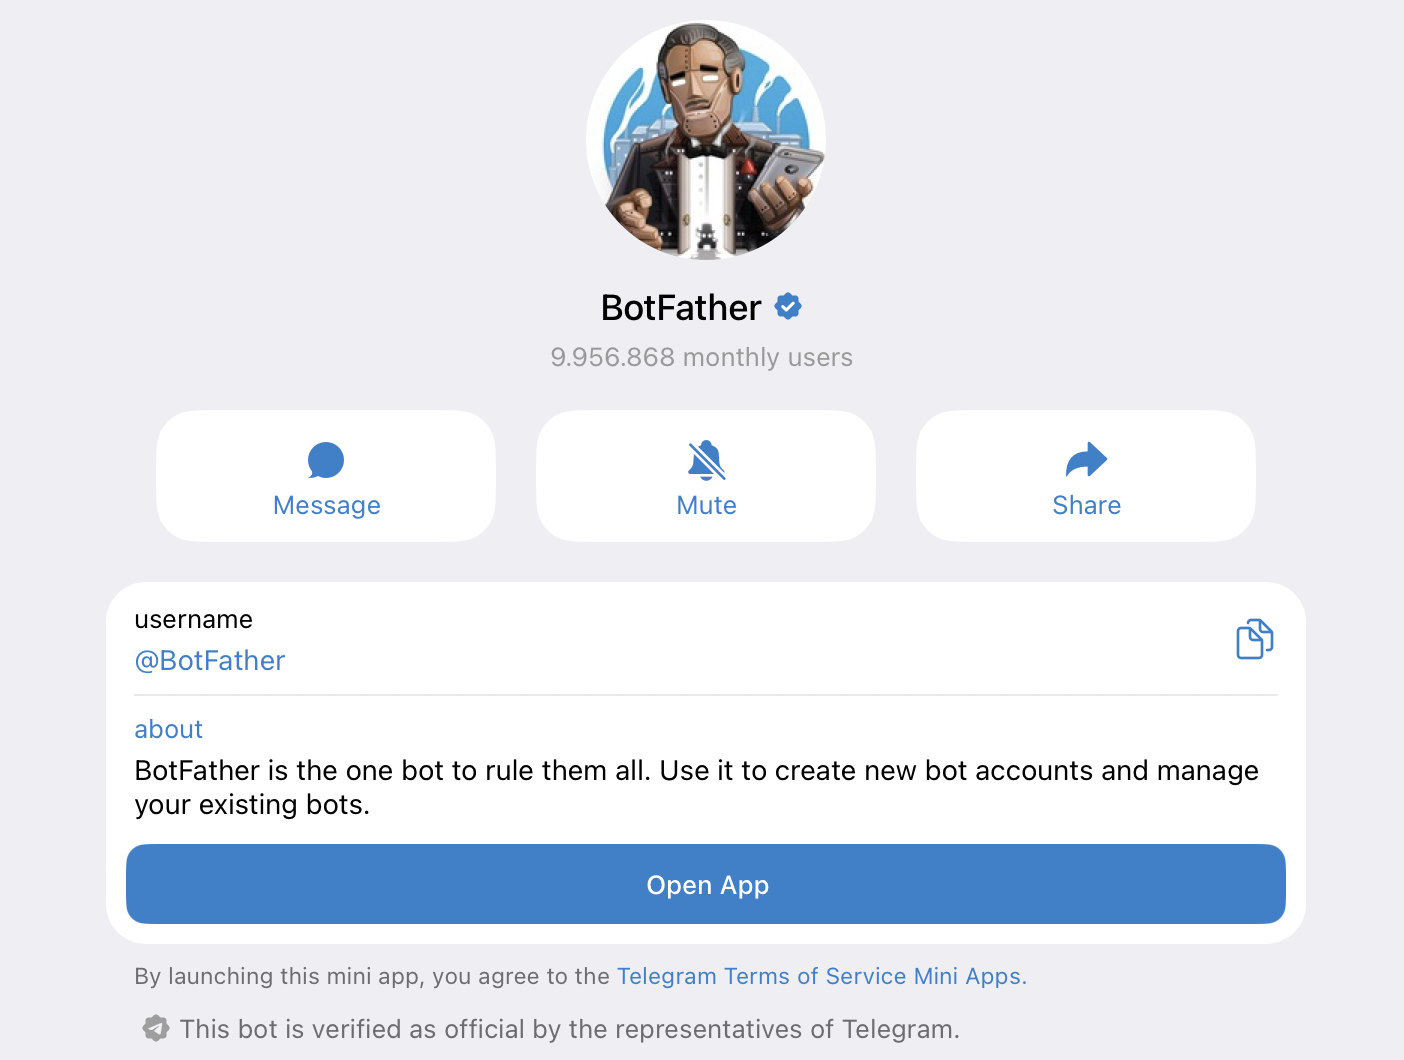
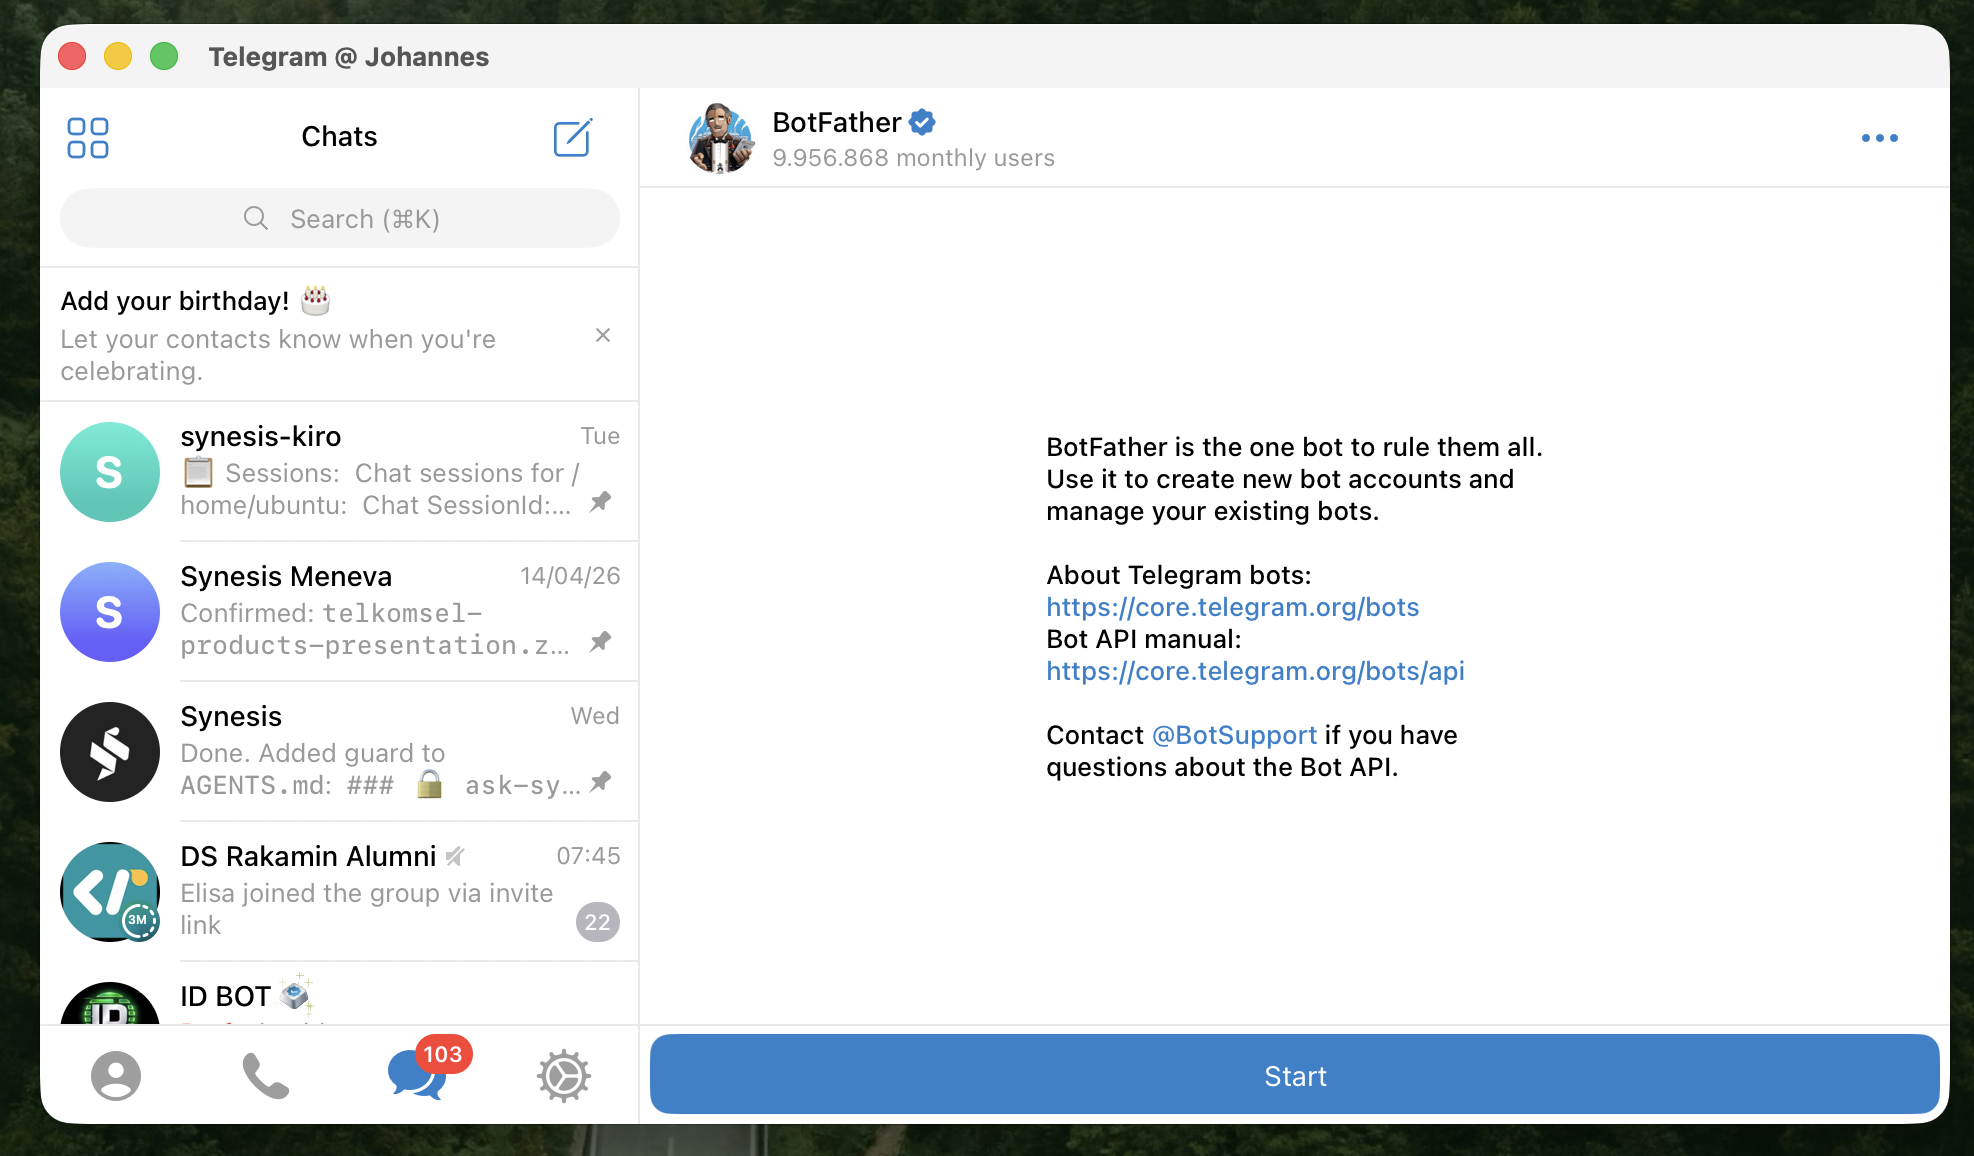
Open BotFather
Open Telegram and navigate to the @BotFather chat. You'll see the welcome screen with a Start button.
@BotFather in the search bar (see next step).
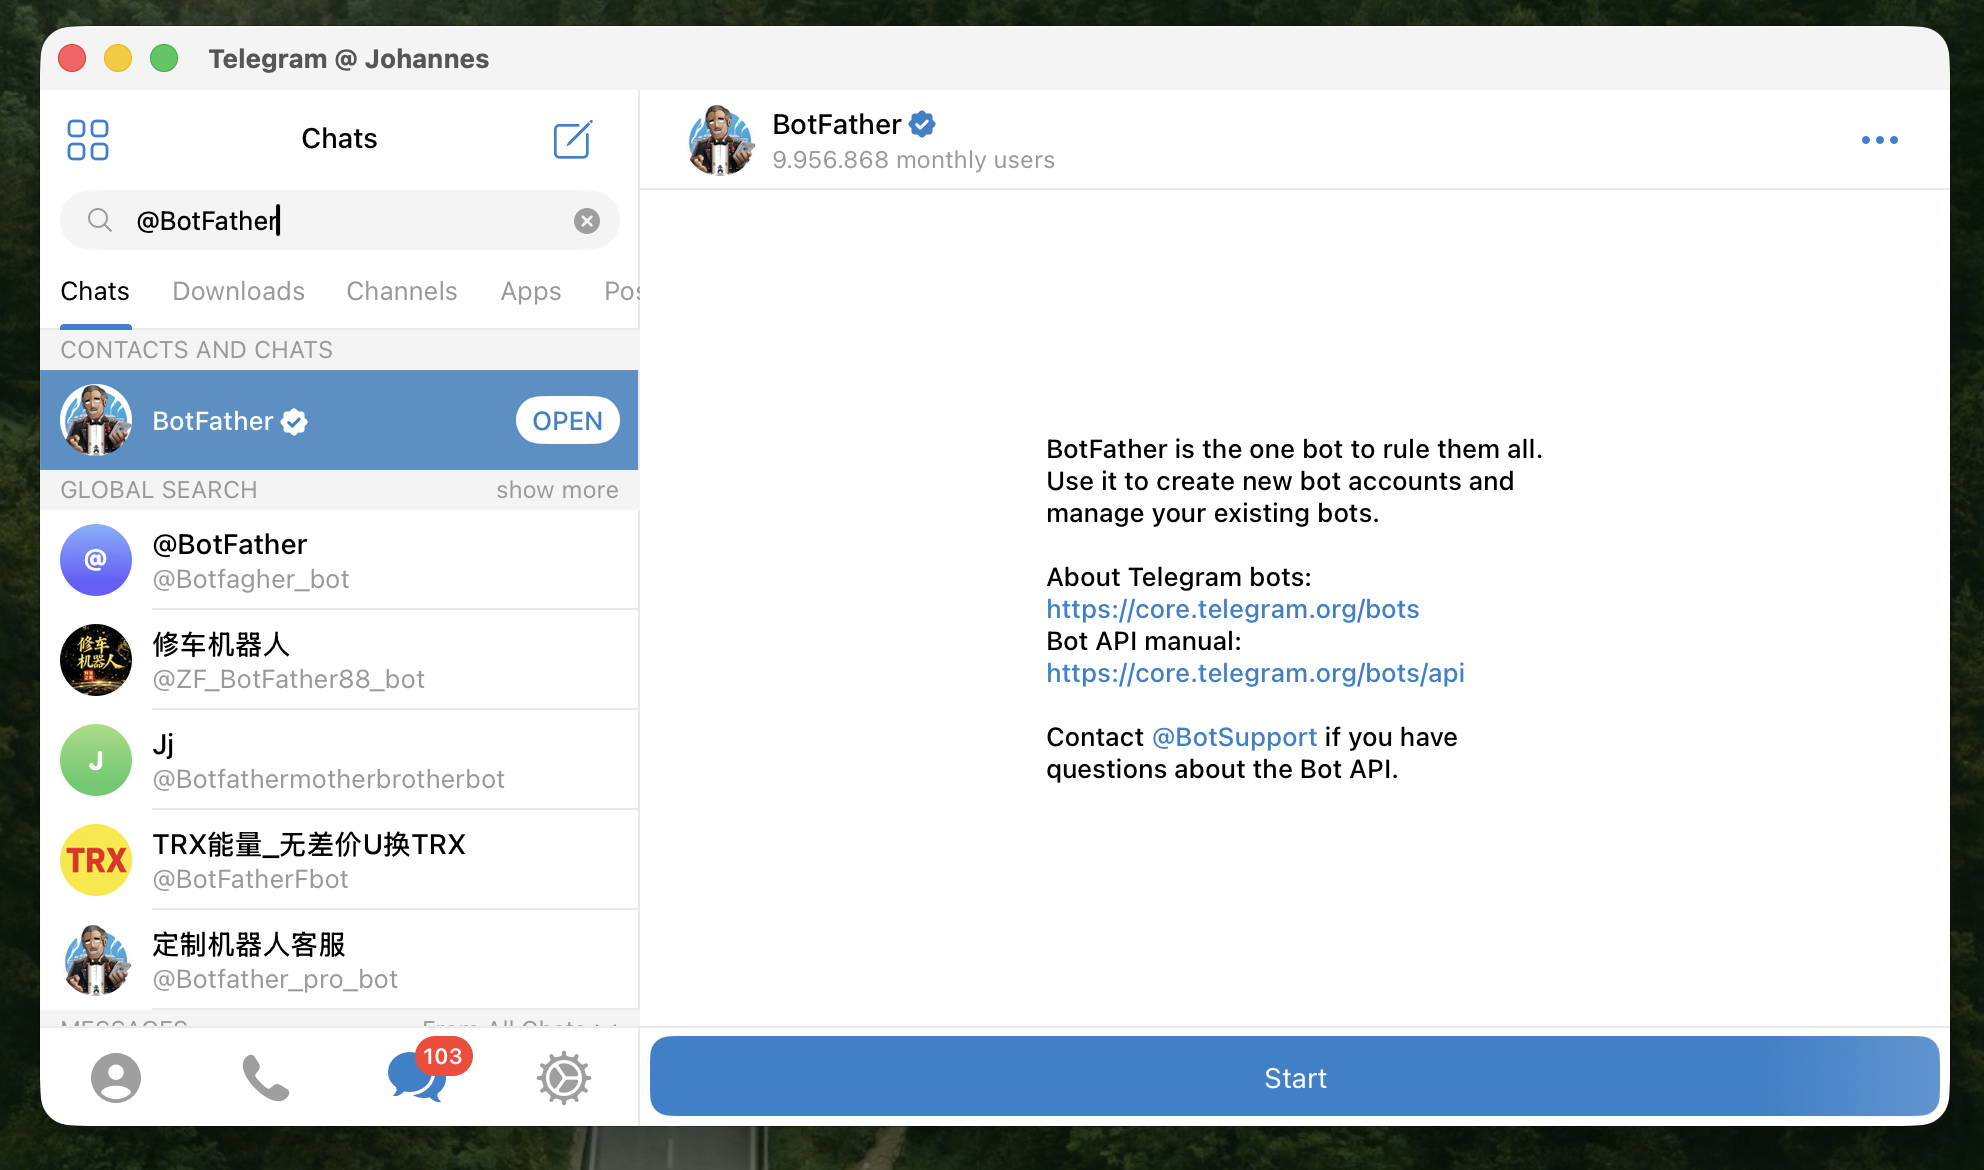
Search for BotFather
Type @BotFather in the Telegram search bar. Select the one with the verified badge (blue checkmark).
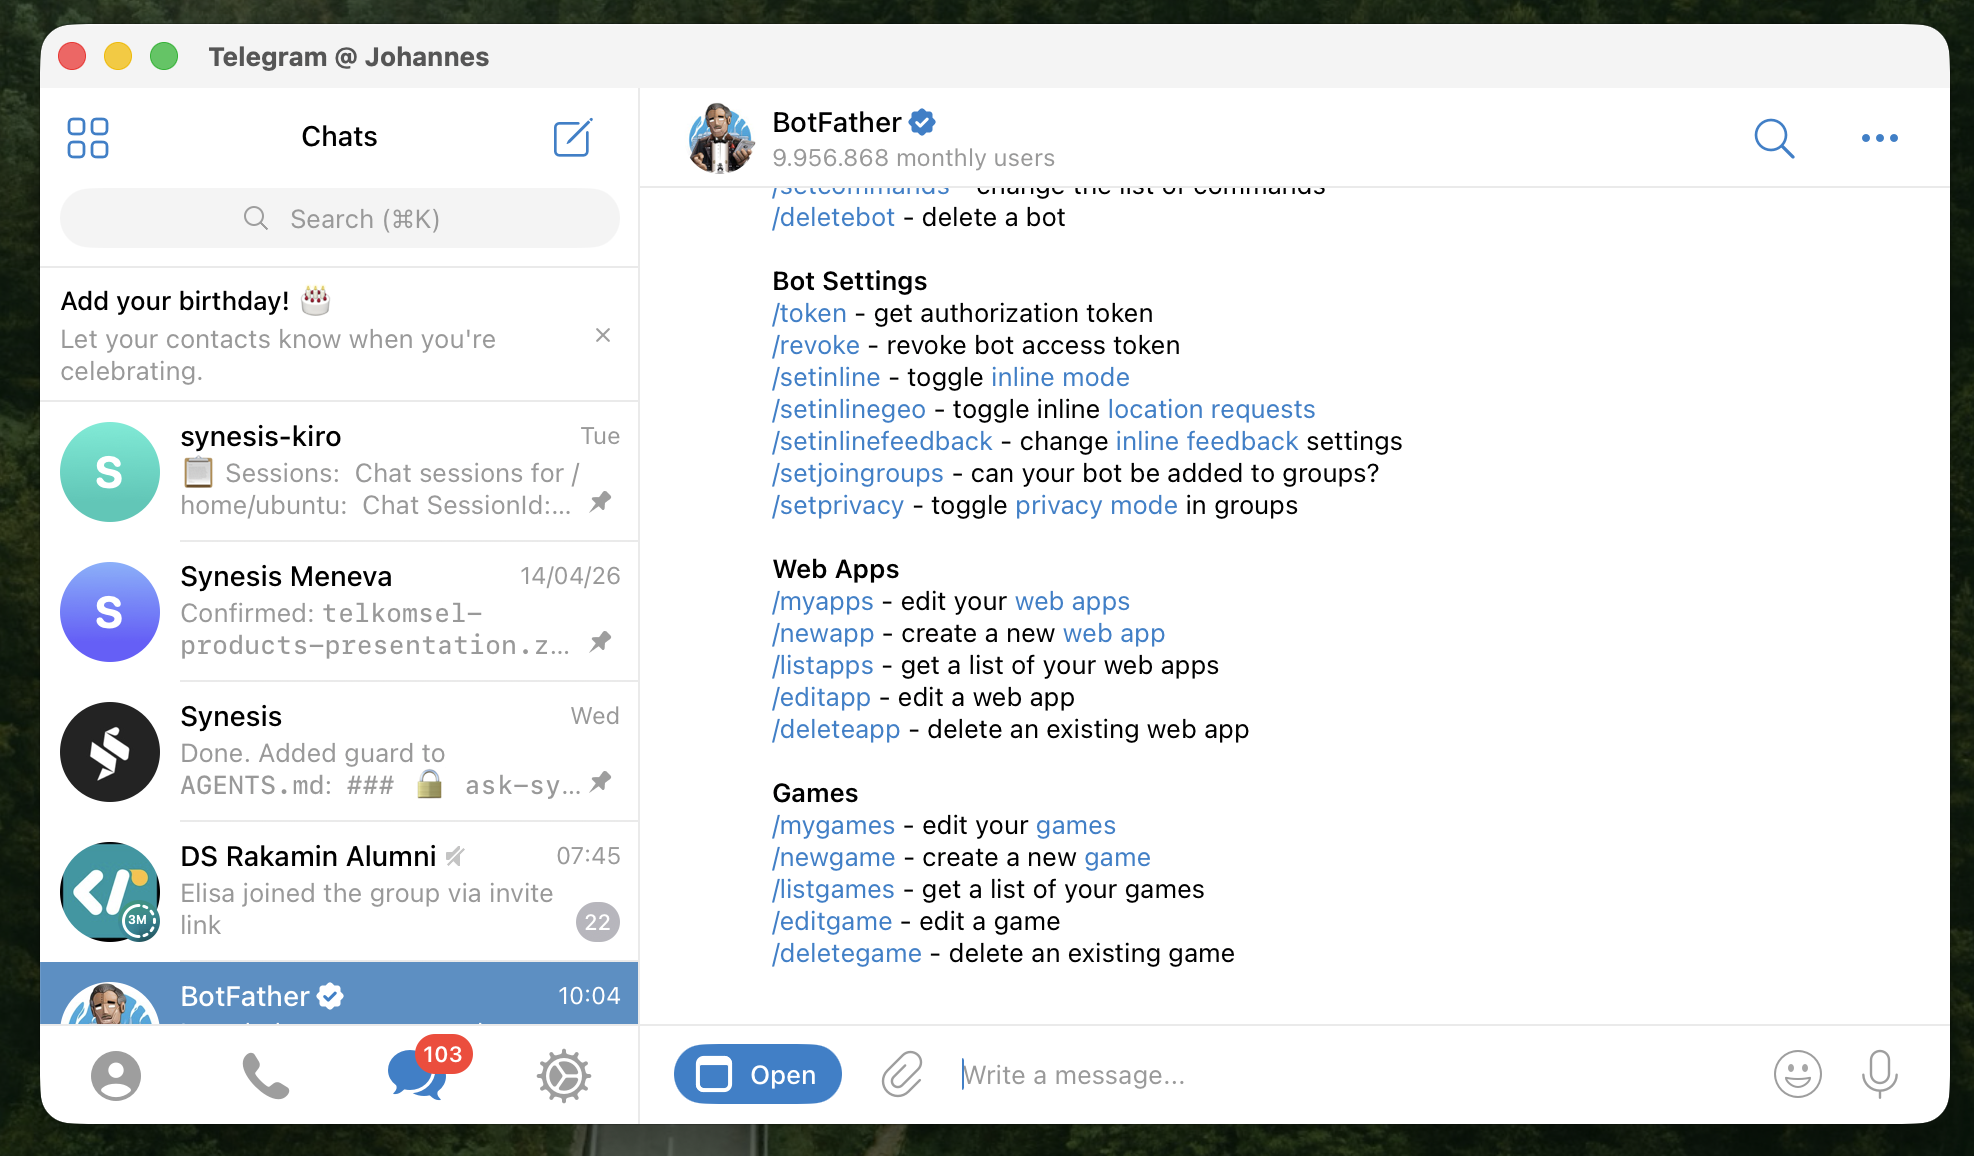
Start BotFather
Click Start to begin interacting. BotFather will display a list of available commands.
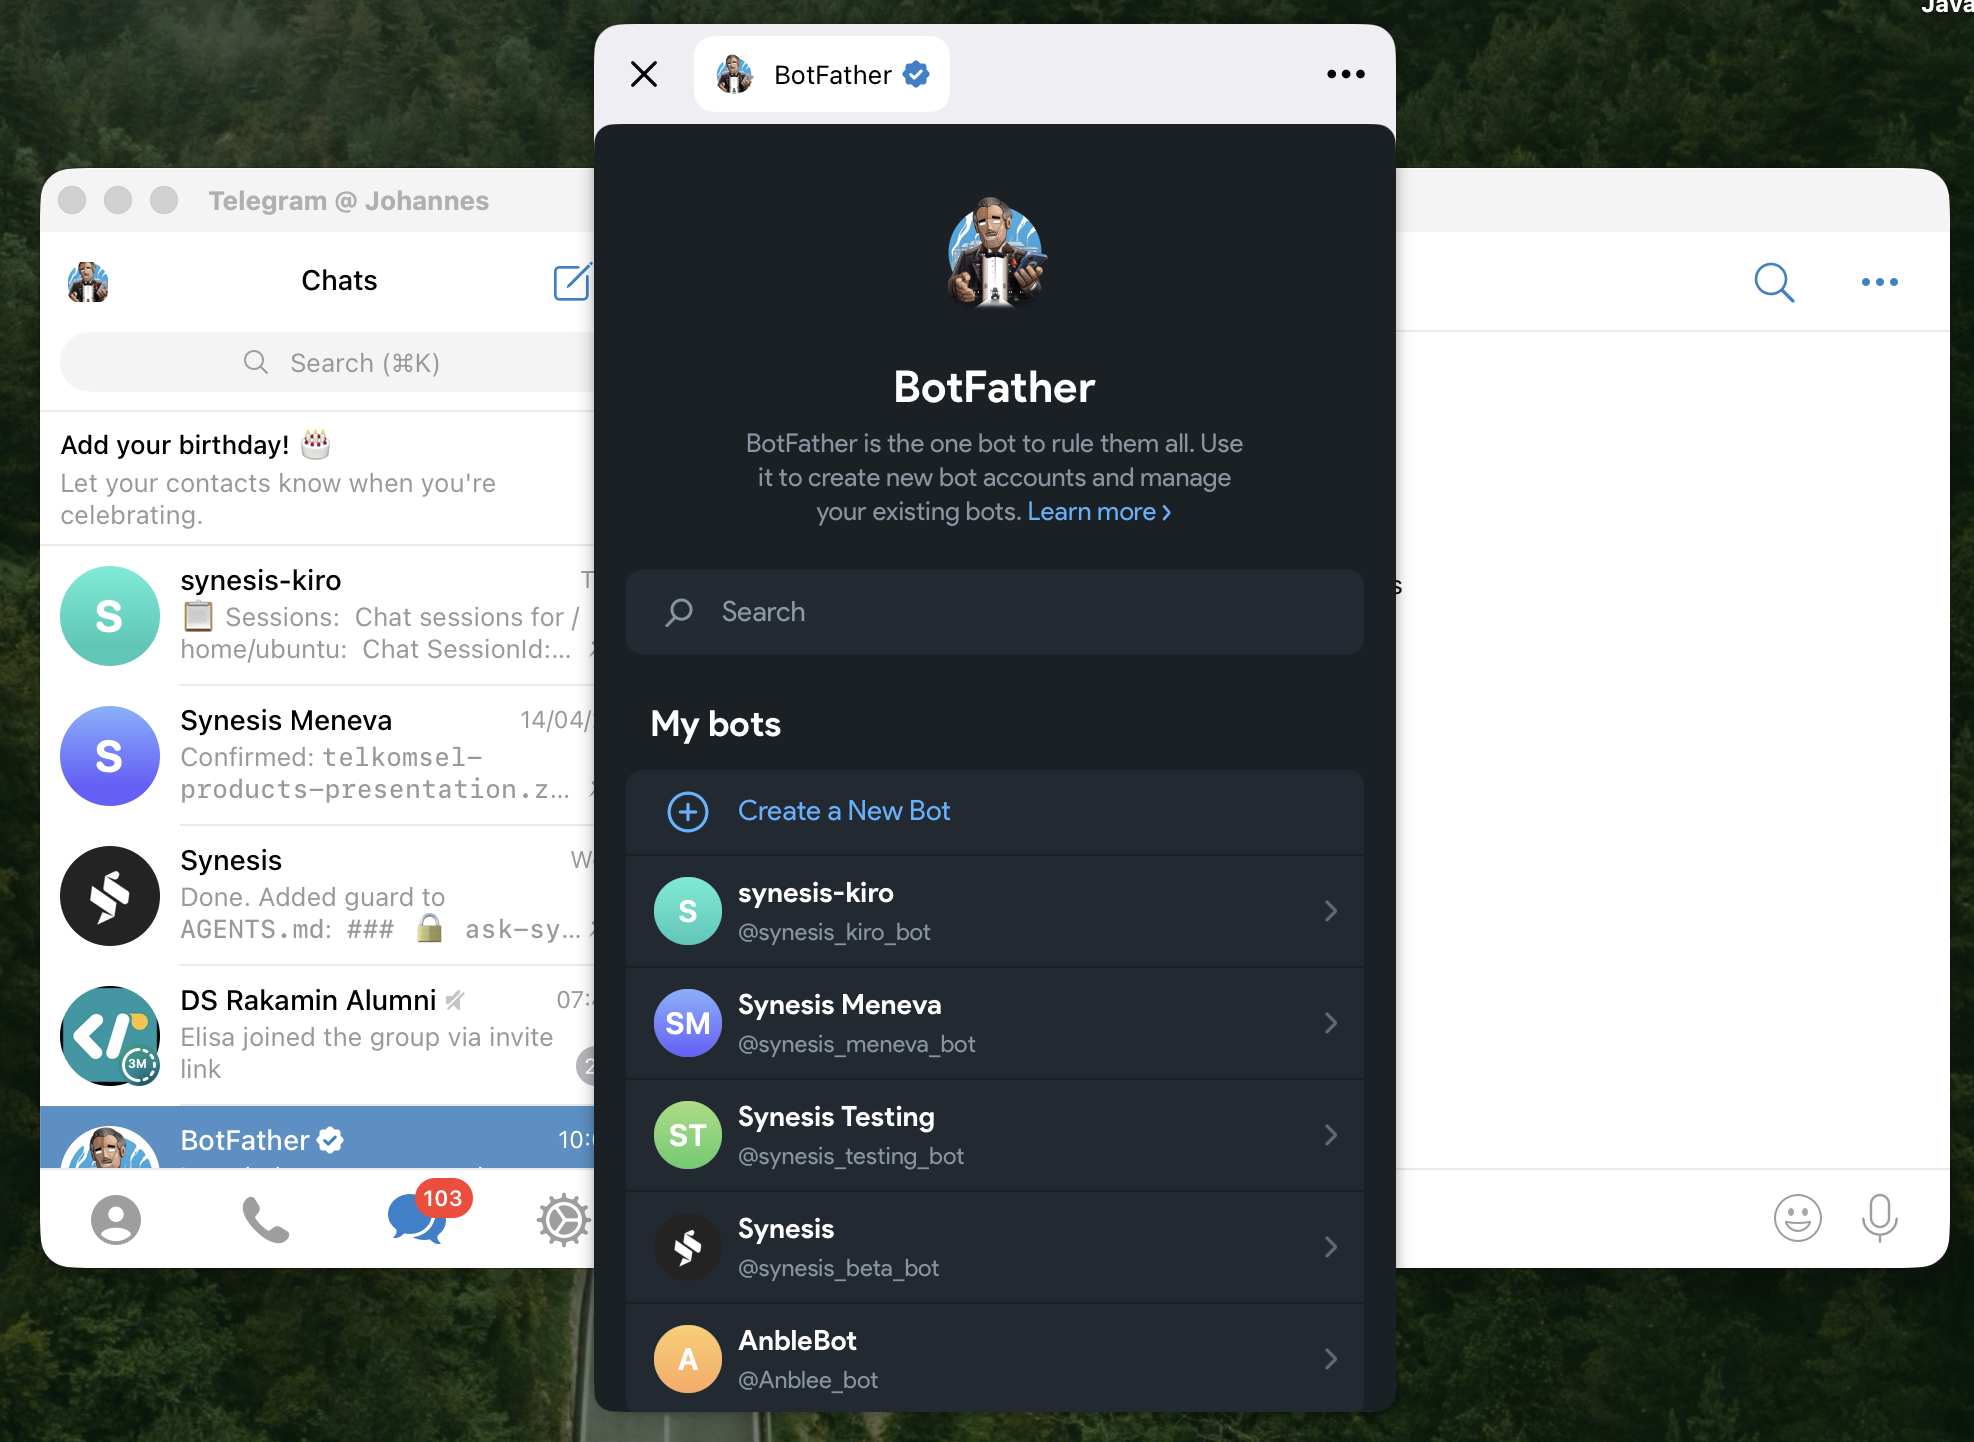
Open the BotFather Mini App
Click the Open button at the bottom of the chat. You'll see your existing bots and a Create a New Bot button.
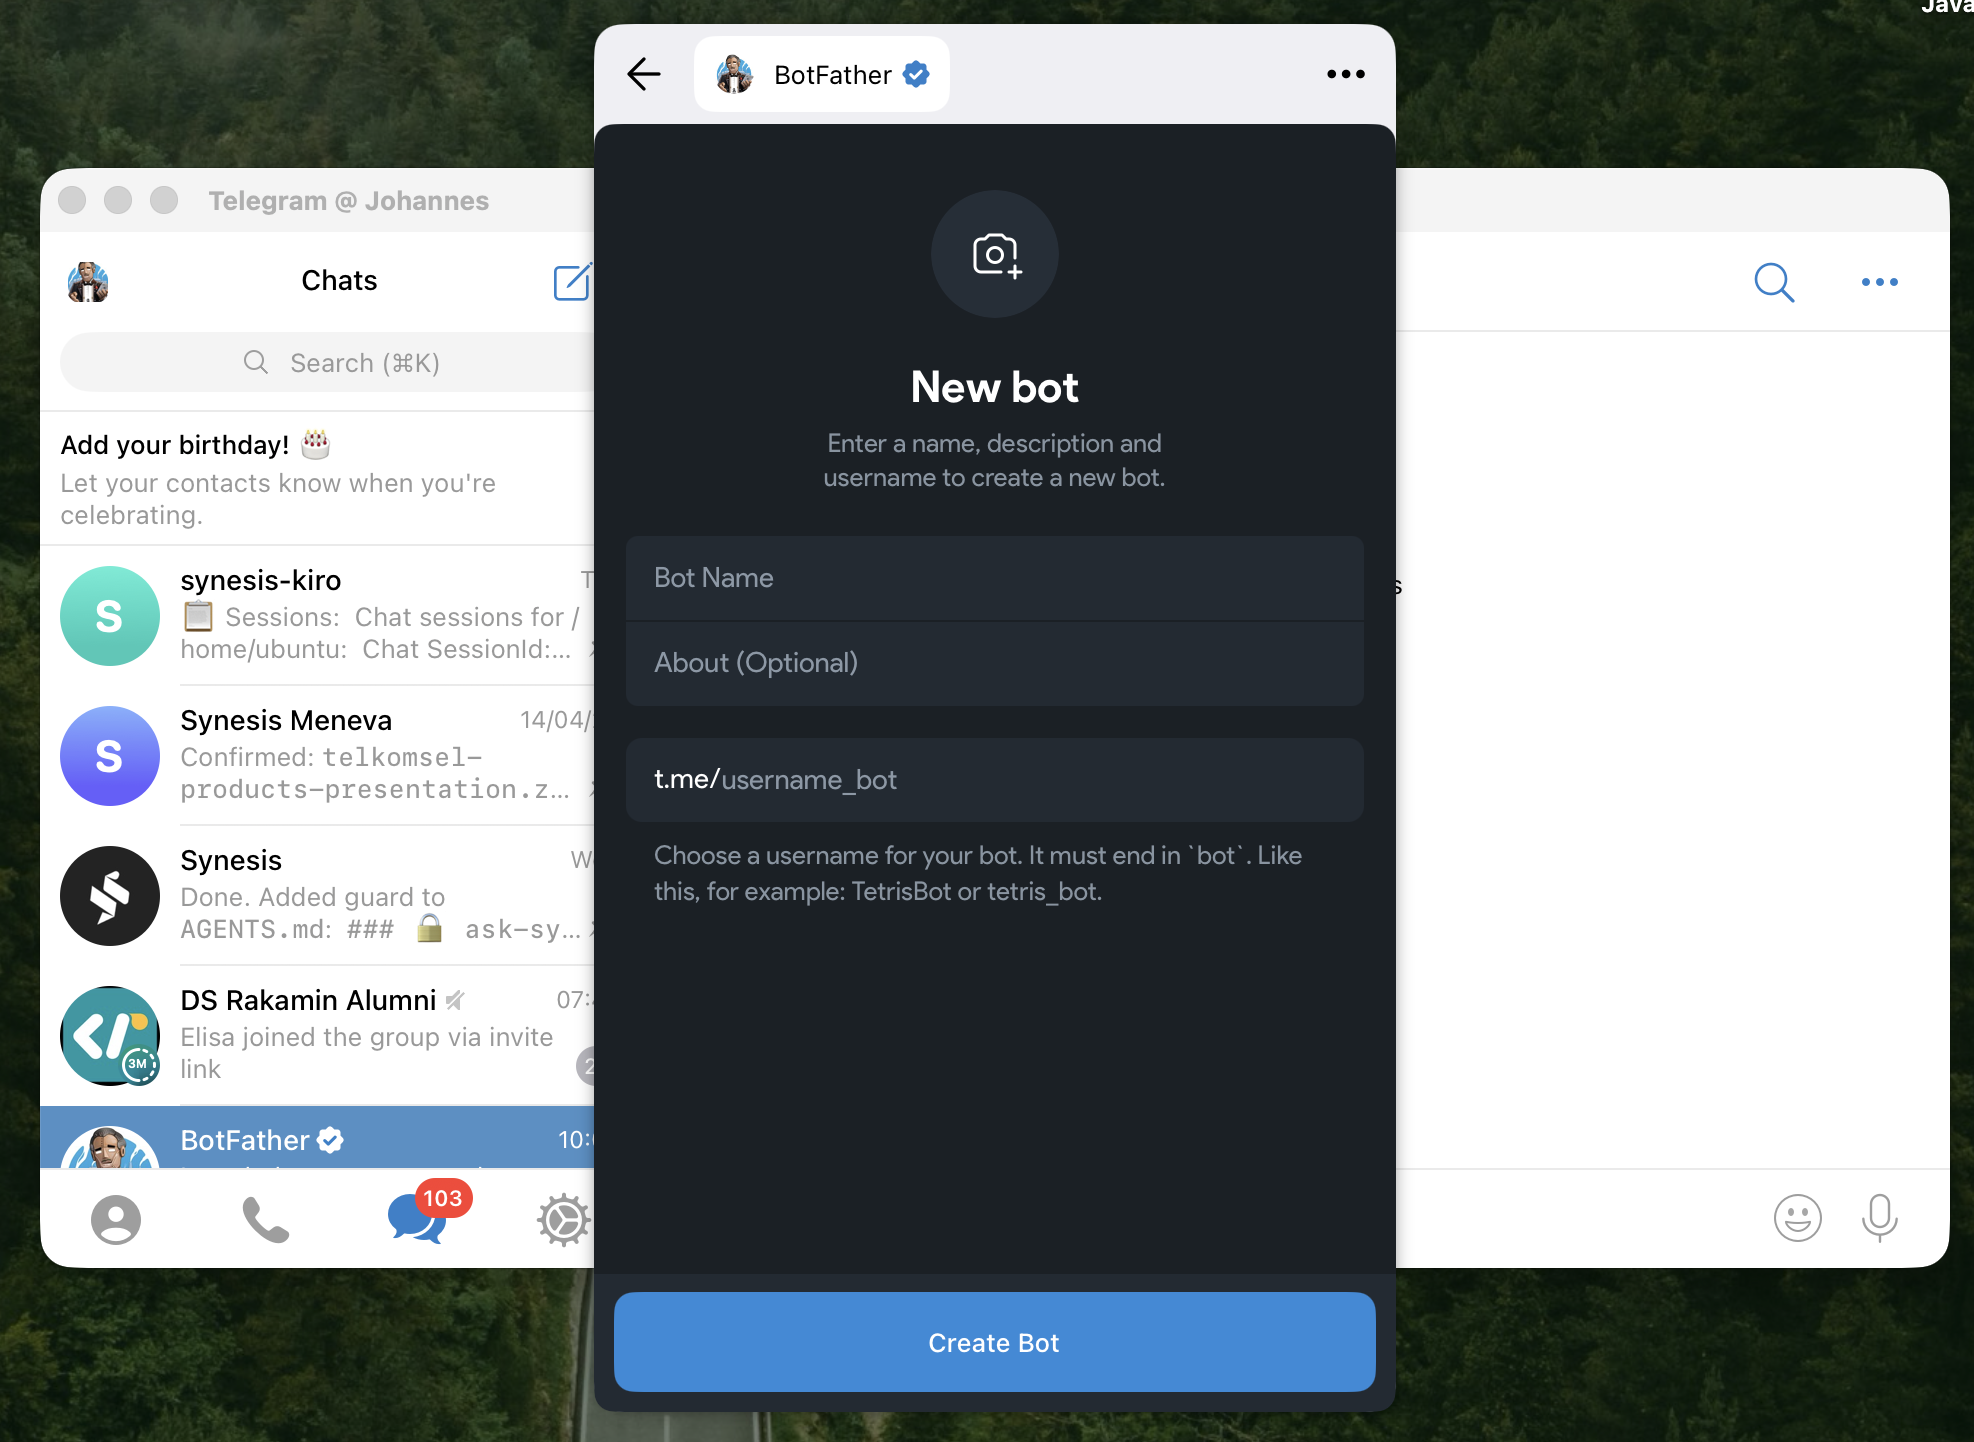
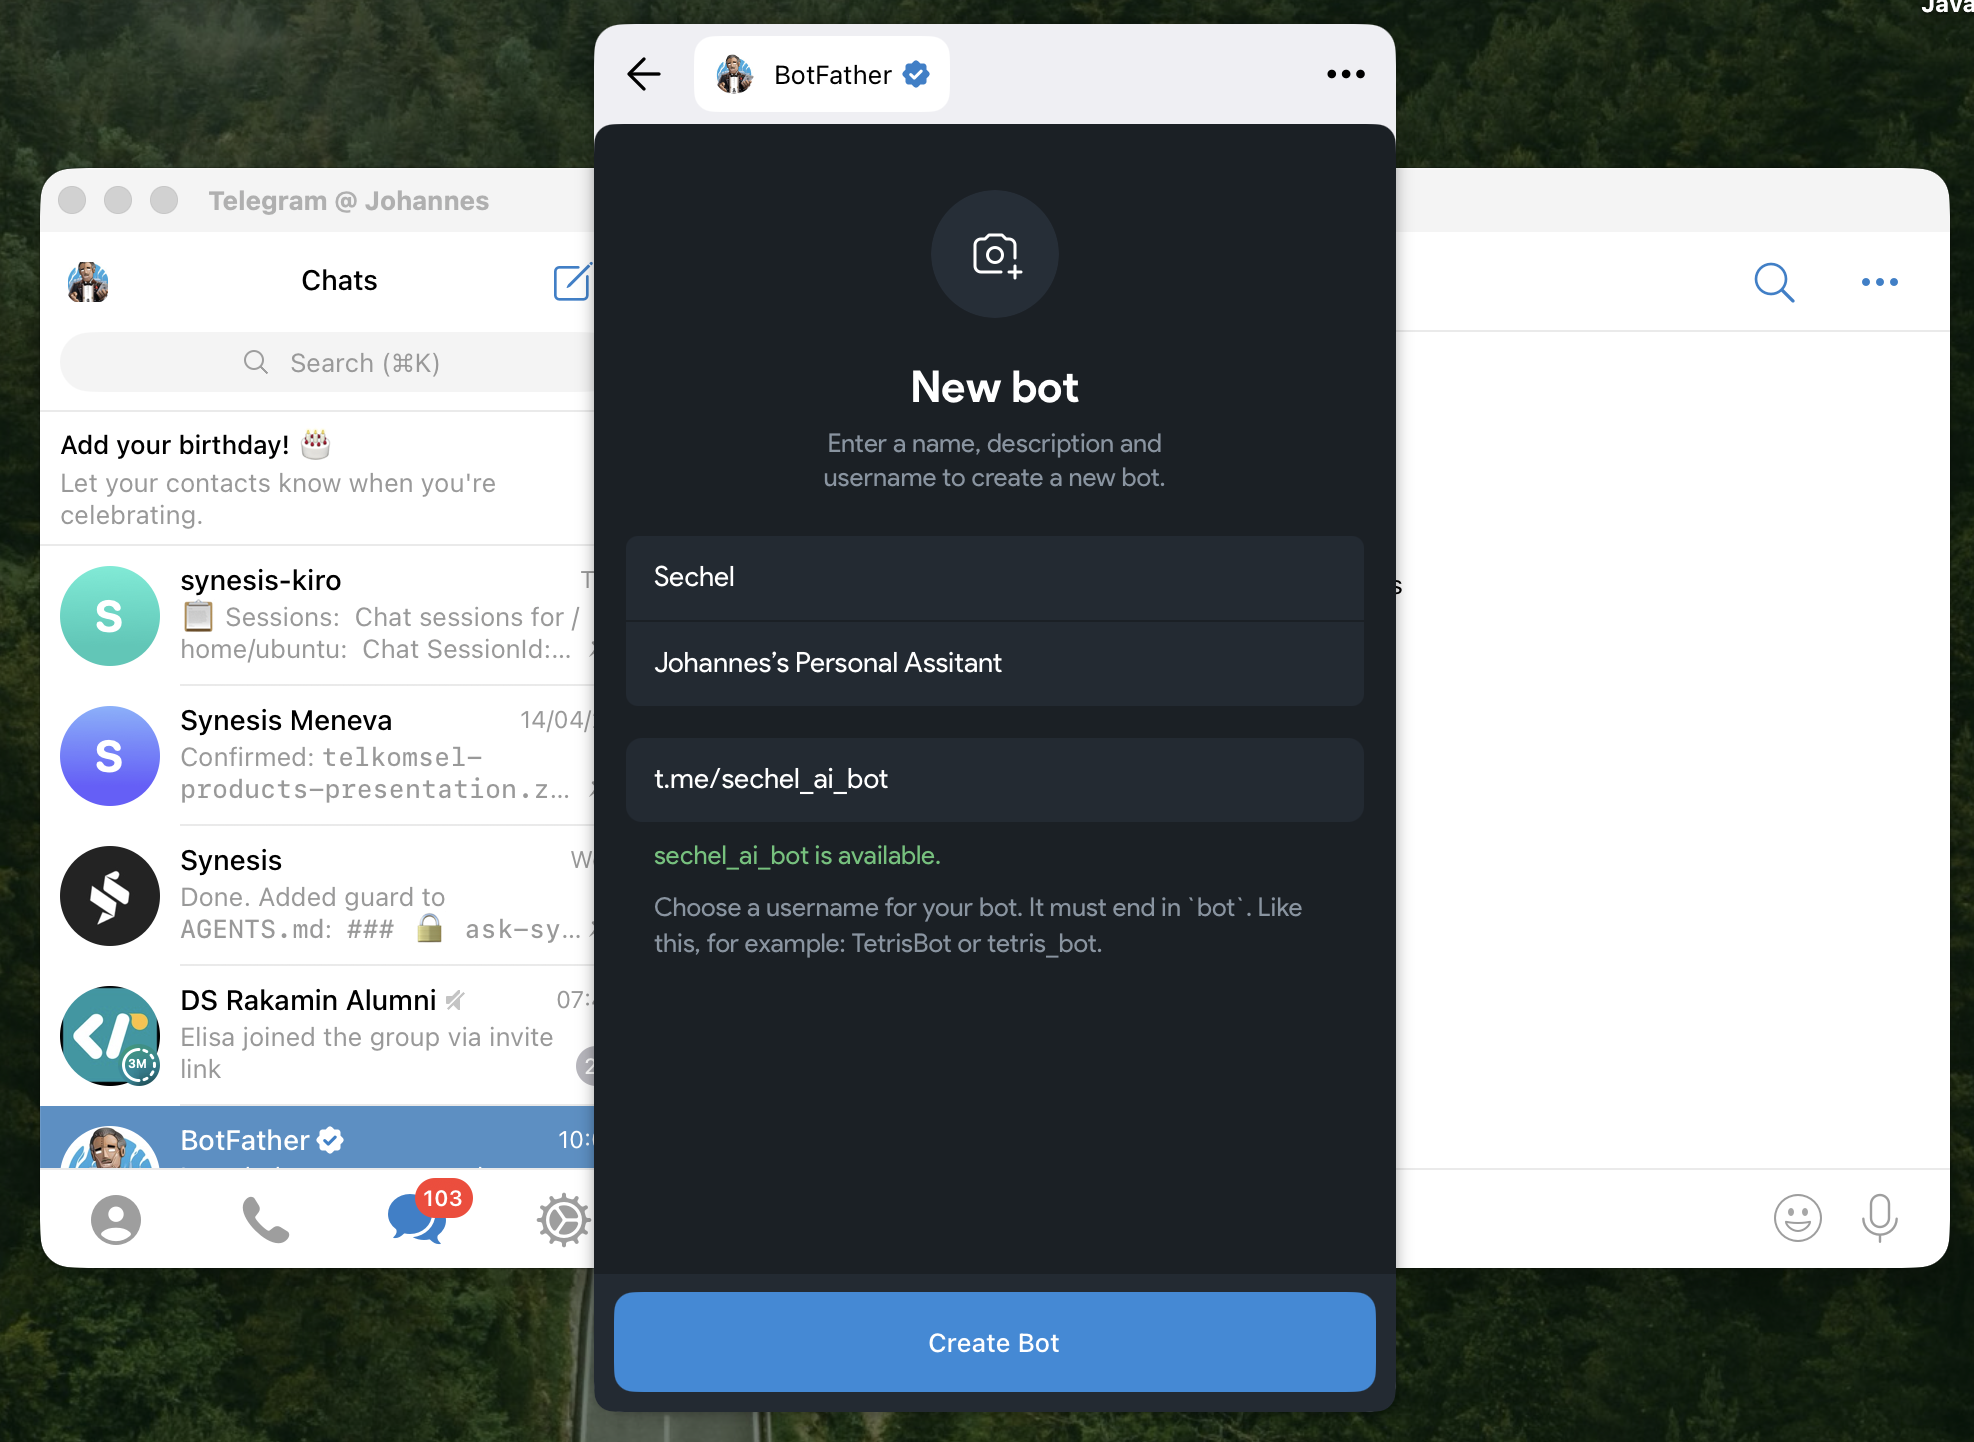
Fill in Bot Details & Create
Click Create a New Bot and fill in:
• Bot Name — Display name (e.g., "Sechel")
• About (Optional) — Short description
• Username — Must end in bot
The system will check if your username is available. If it shows a green "available" message, click Create Bot.
sechel_ai_bot).
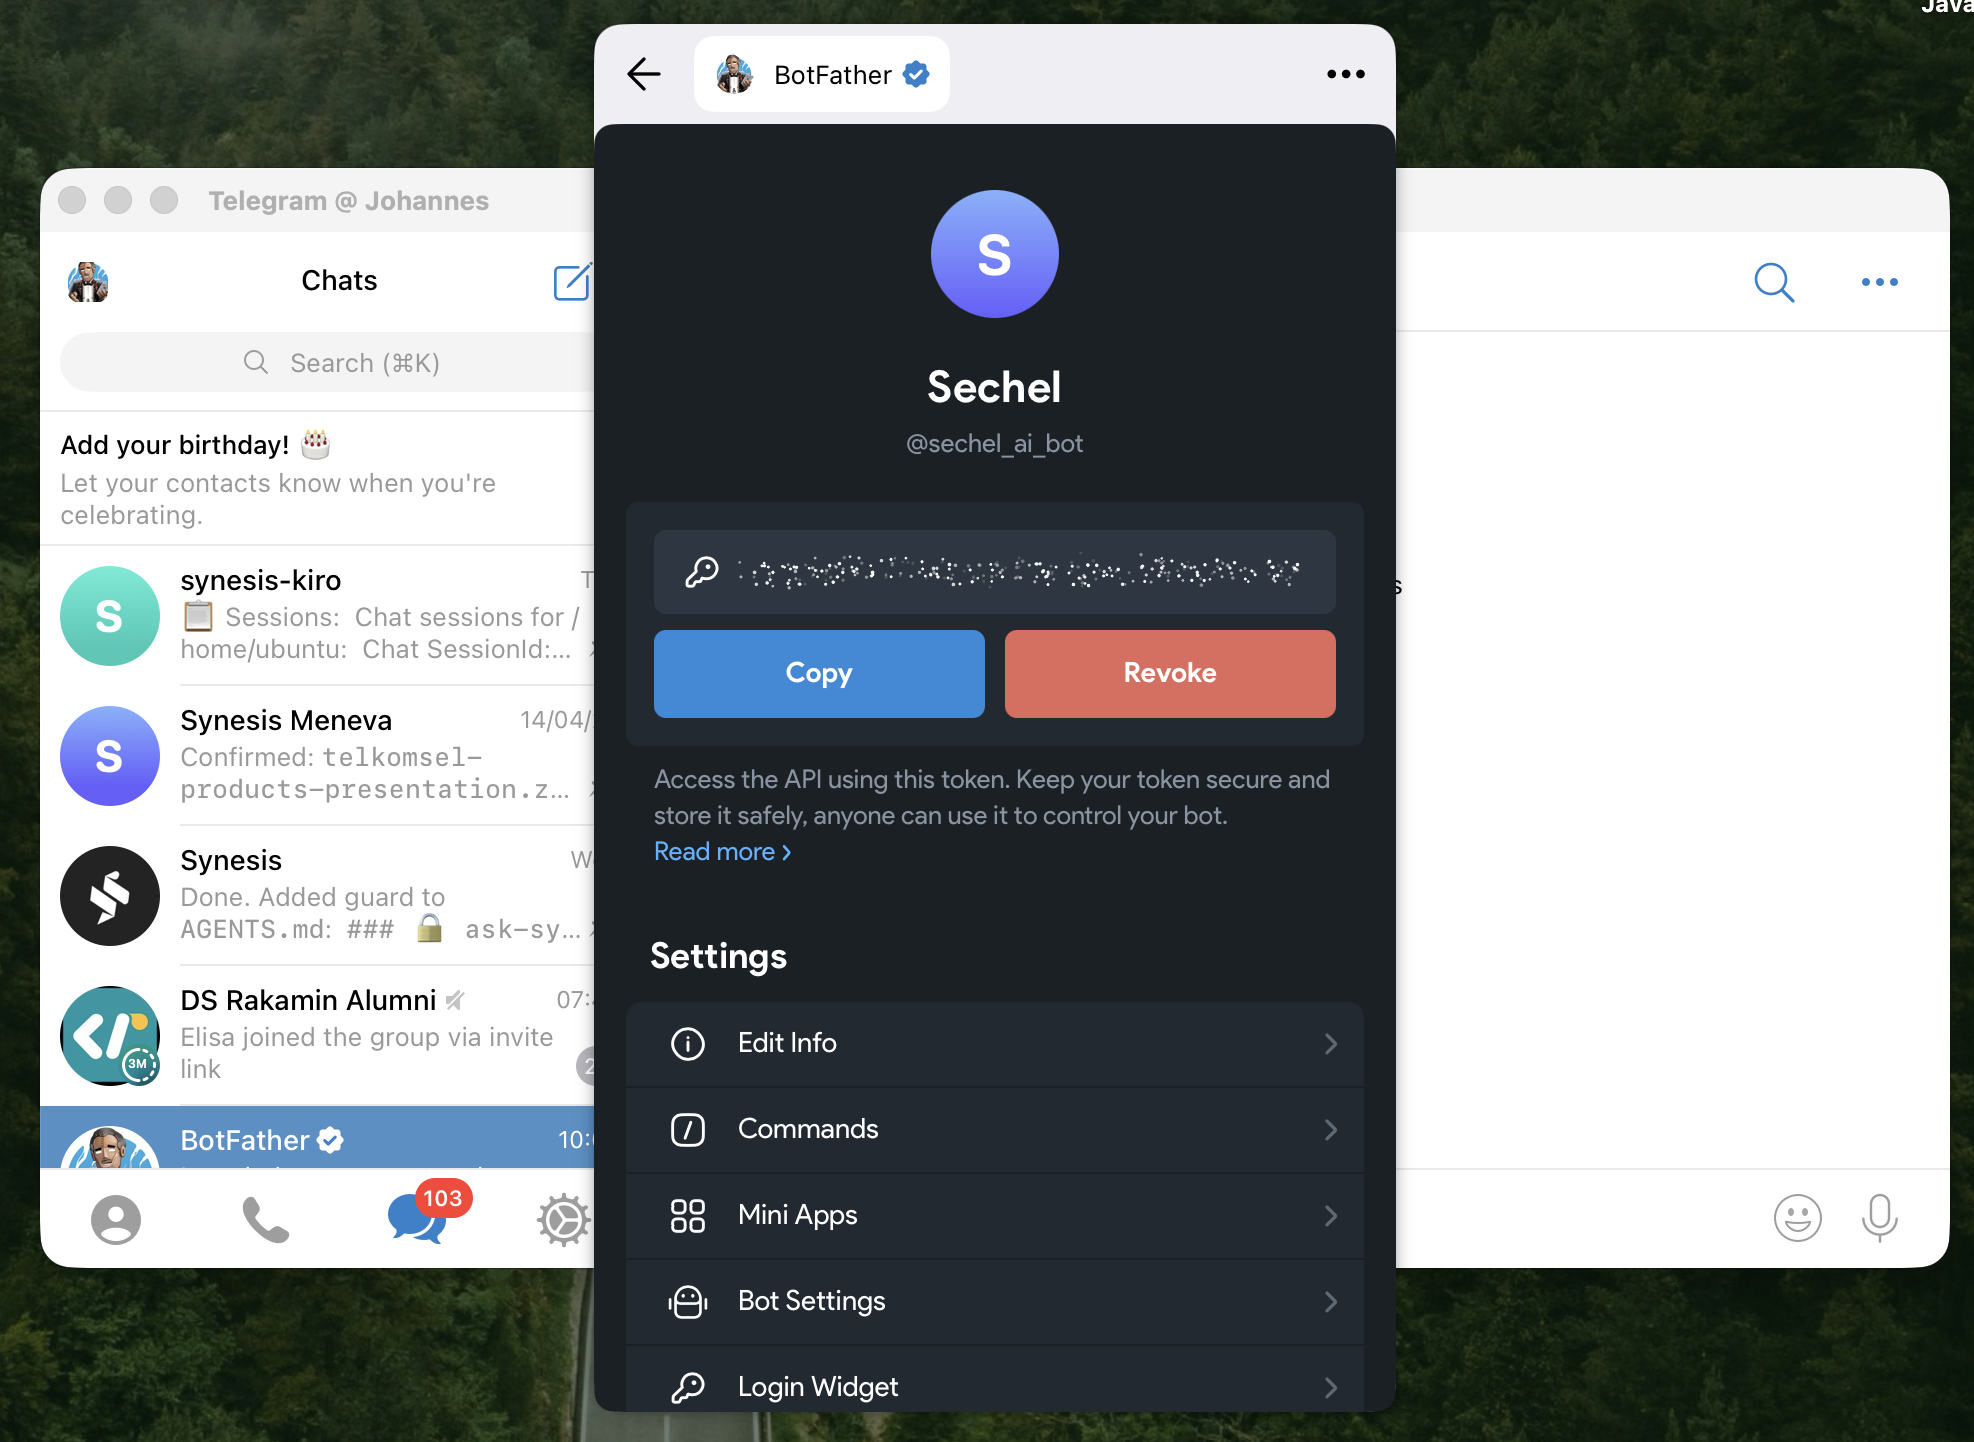
Get Your Bot Token
BotFather will display your bot's detail page with the API Token and Copy / Revoke buttons.
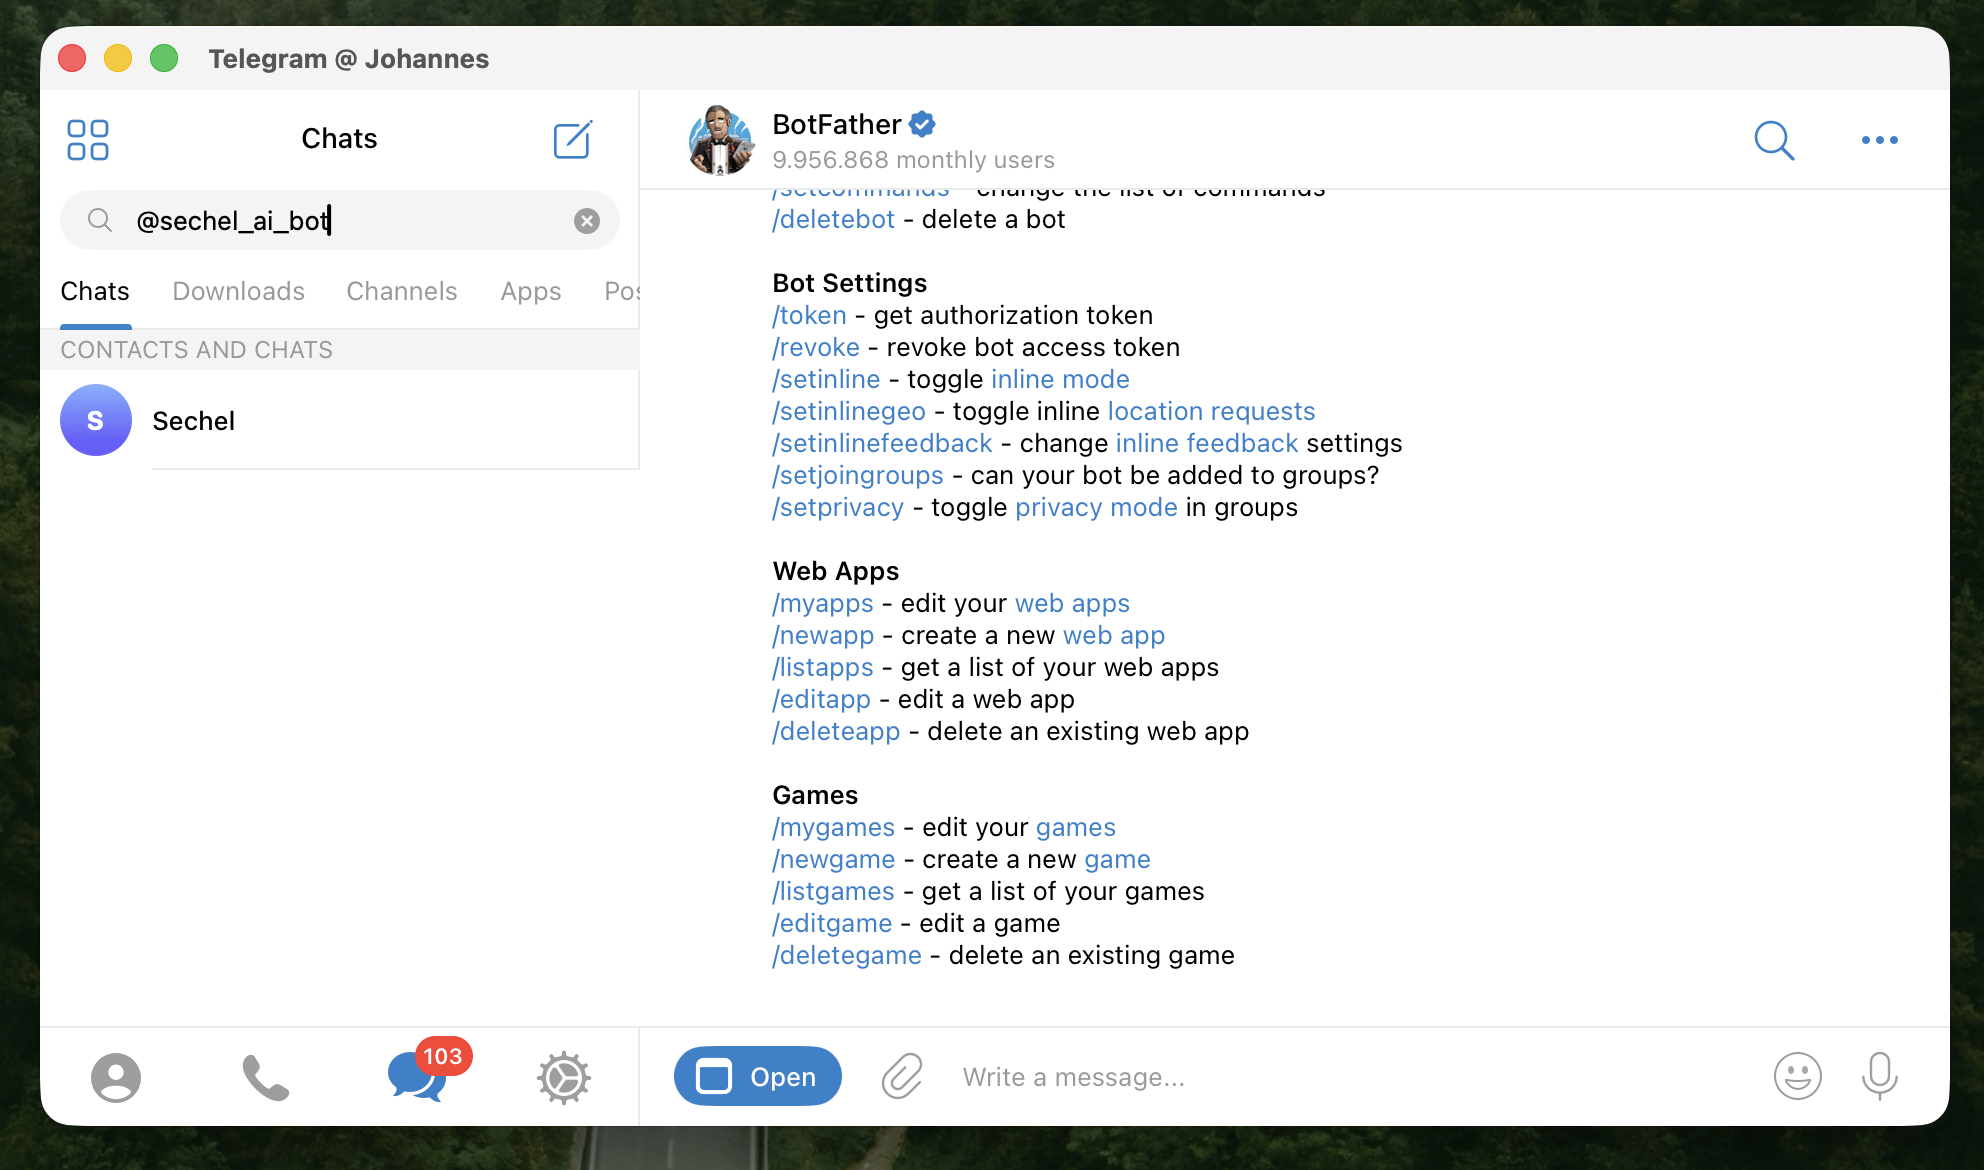
Search for Your New Bot
Search for your bot's username (e.g., @sechel_ai_bot) in the Telegram search bar.
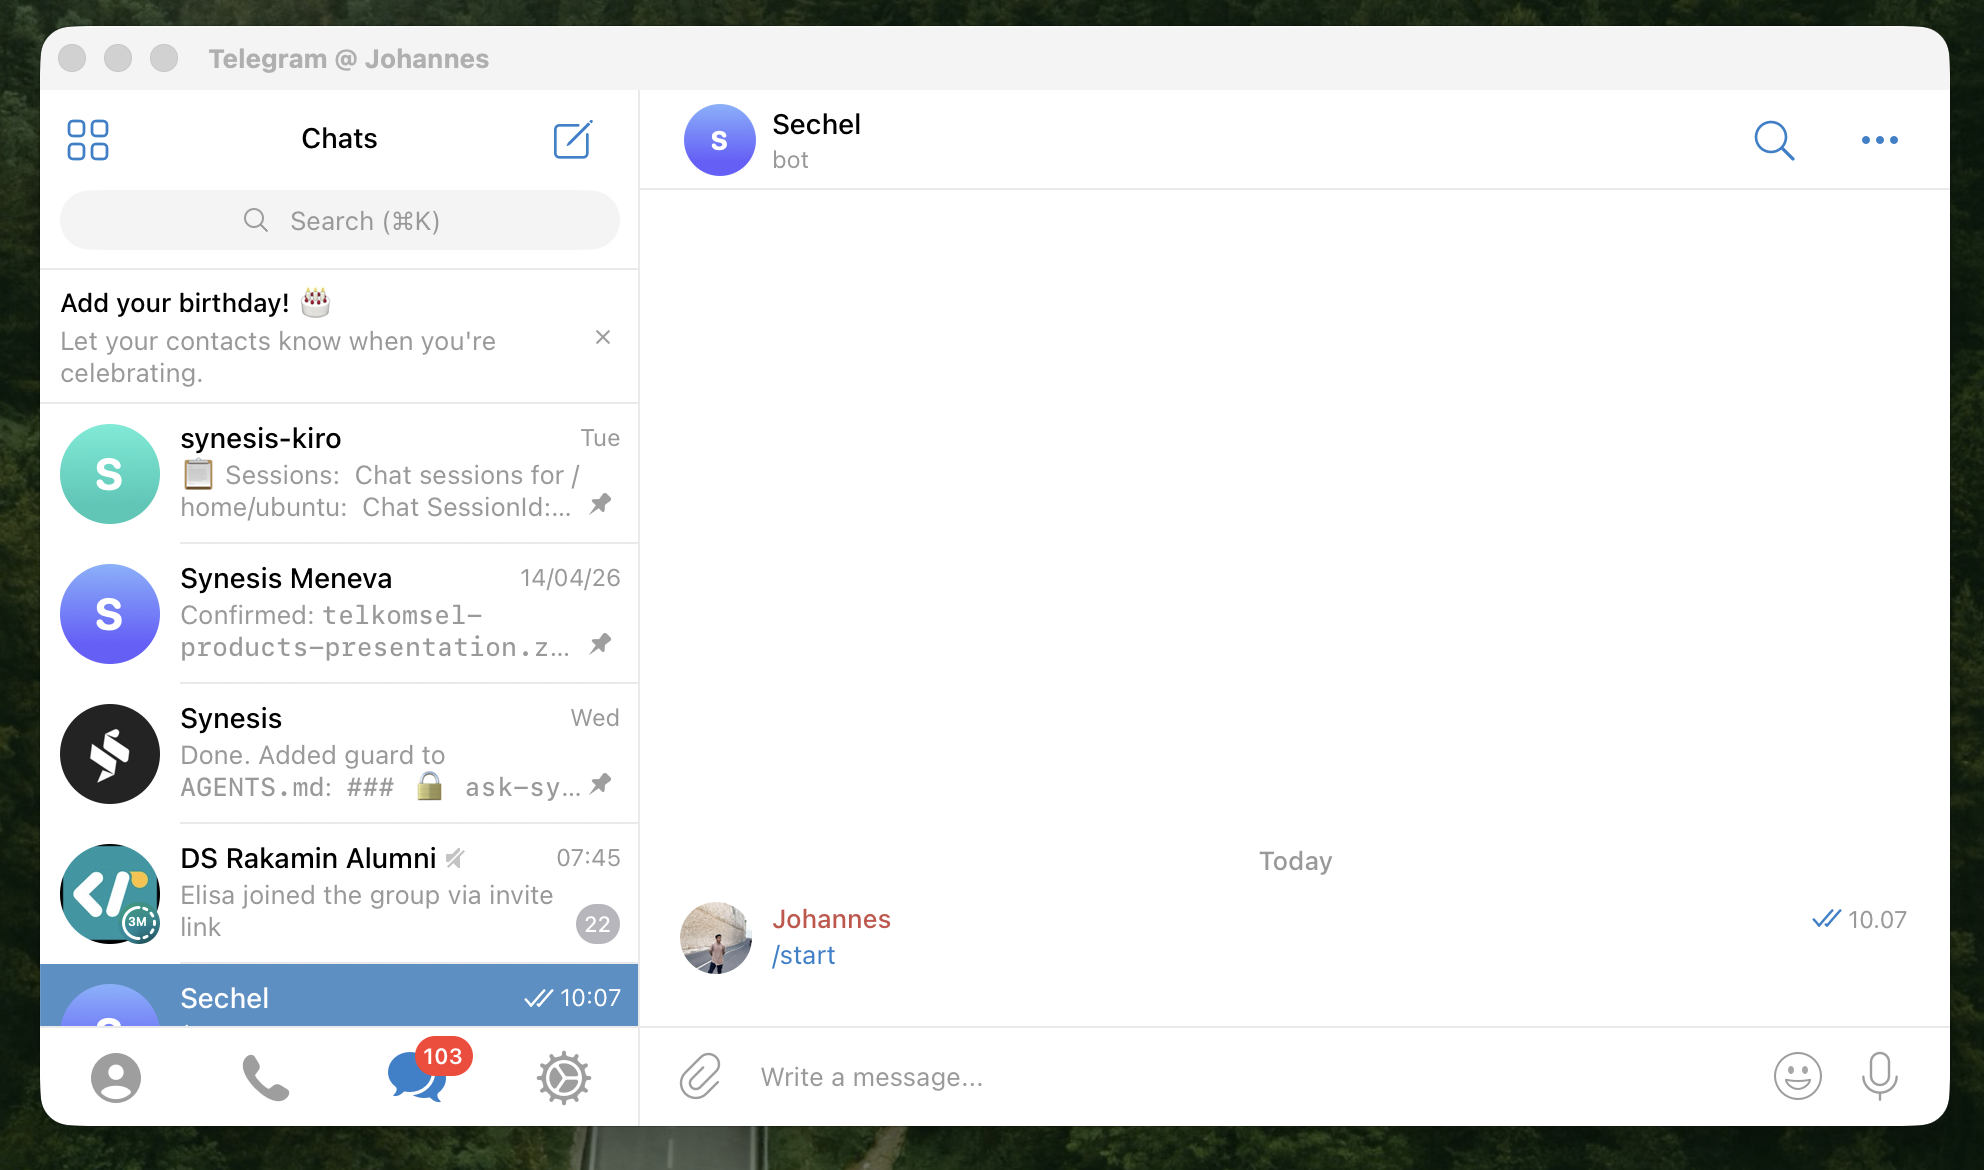
Open Your Bot Chat
Open the bot chat. You'll see the bot's description. Click Start to activate the bot.
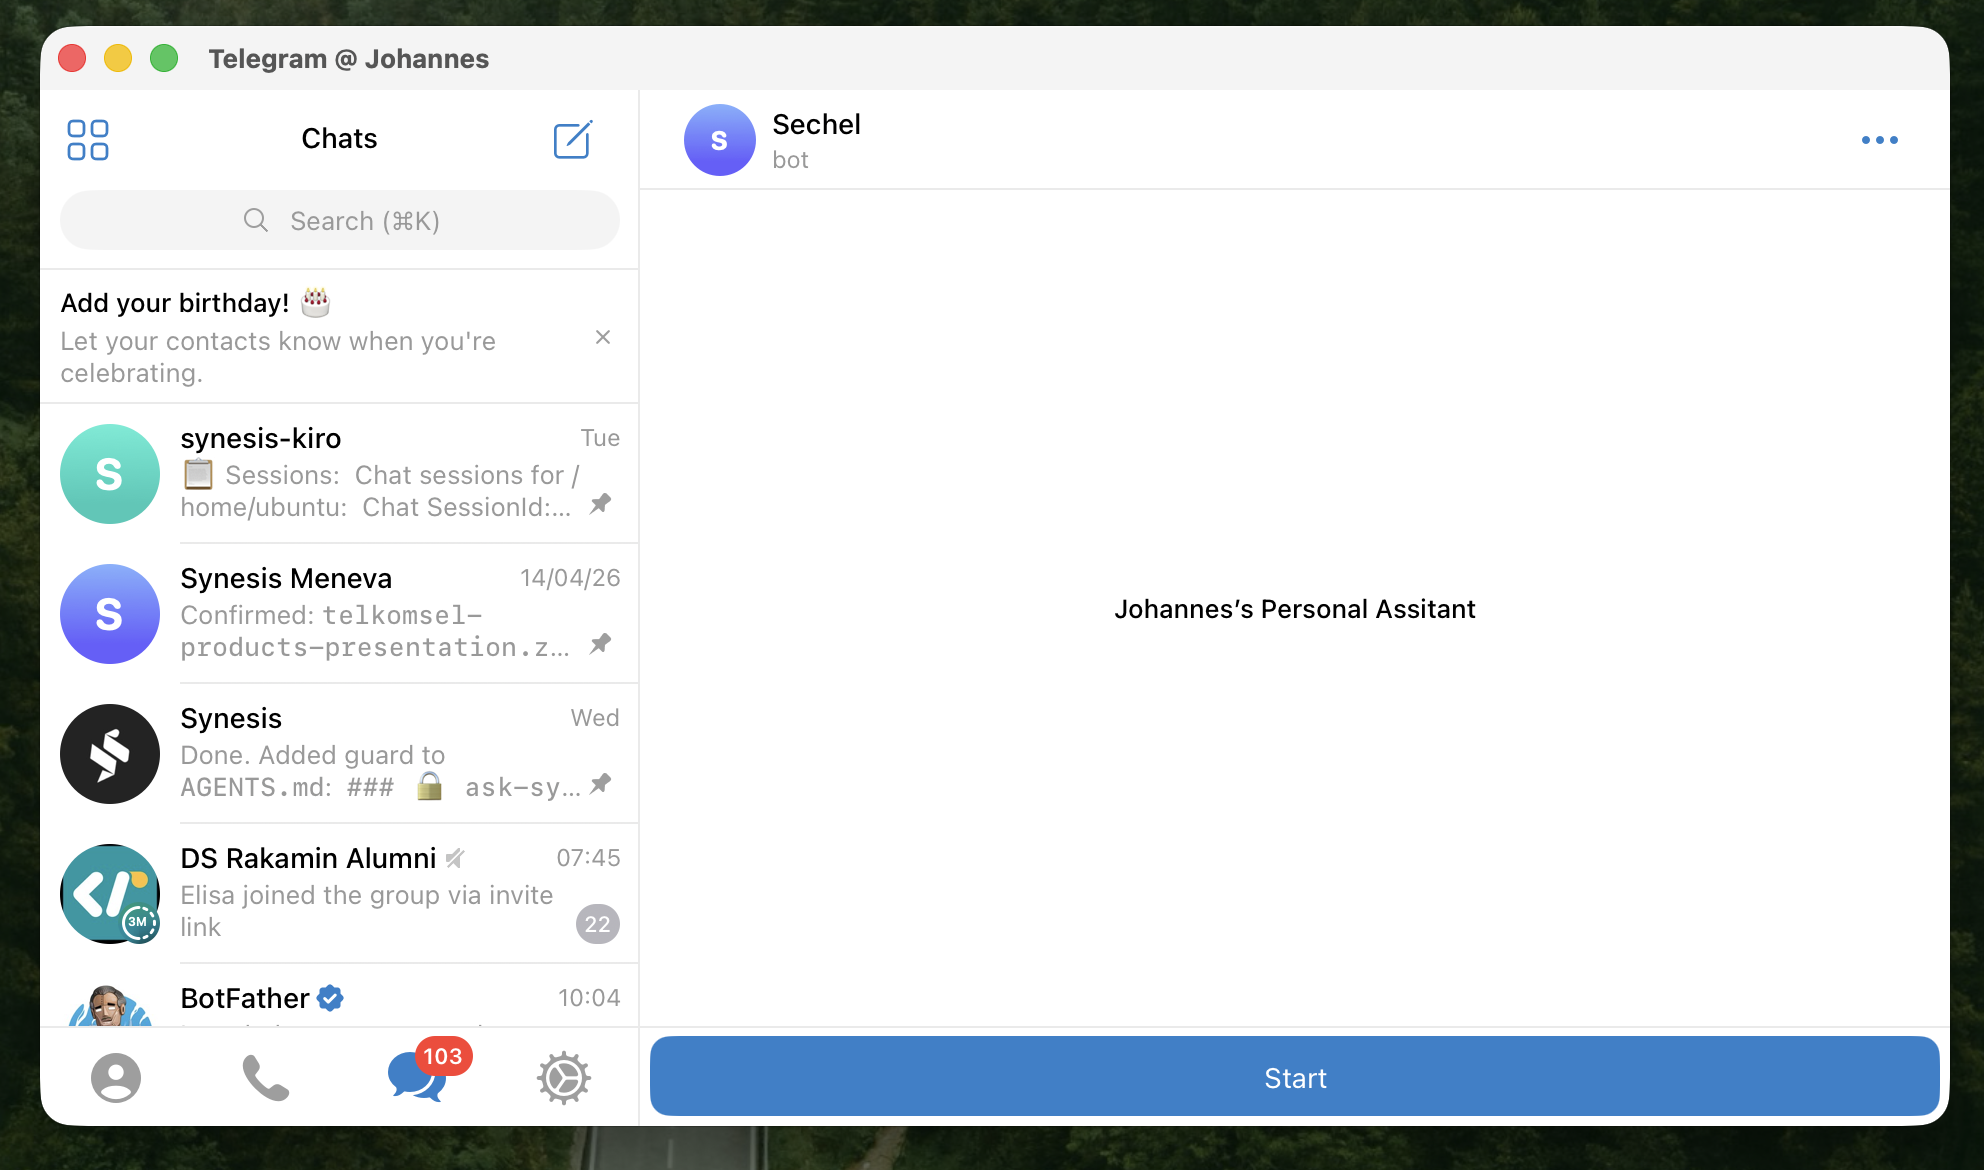
Bot is Live
After clicking Start, the /start command is sent automatically. Your bot is now active.